Good morning again! 😉 My Macbook Pro folders are heaving at the seams with SO many blog features that I need to write up, and so I'm treating you to a few more features than usual at the moment 🙂
This latest DIY feature comes to you from my fellow Blogging Colleague Louise from Whimsical Wonderland Weddings. Lou is a sweet lady, who is as passionate about her blog as I am about mine – investing all her energies into bringing the best content she can for her readers.
Recently, Lou celebrated her blog's first birthday {well done Lou!}, and posted the most beautiful blog feature to mark the occasion. It was bursting with the most delightful DIY features I've ever seen on a wedding blog. Lou kindly agreed there and then that I could share some of this lovliness with you all and so here it is today 🙂 {better late than never Lou – sorry!}. This is the cutest little 'Mini Fabric Flag Garland DIY tutorial and instead of waffling on, I'm going to hand you straight over to lovely Lou to tell you how you can make your own to pretty up your wedding day, or any other special event 🙂
♥ ♥ ♥
Hi Love My Dress readers, I’m Lou from Whimsical Wonderland Weddings and I’m so very excited to be guest posting for you today.
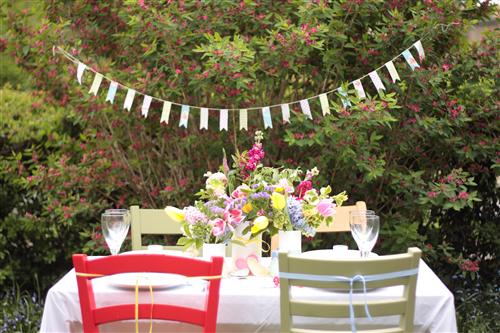
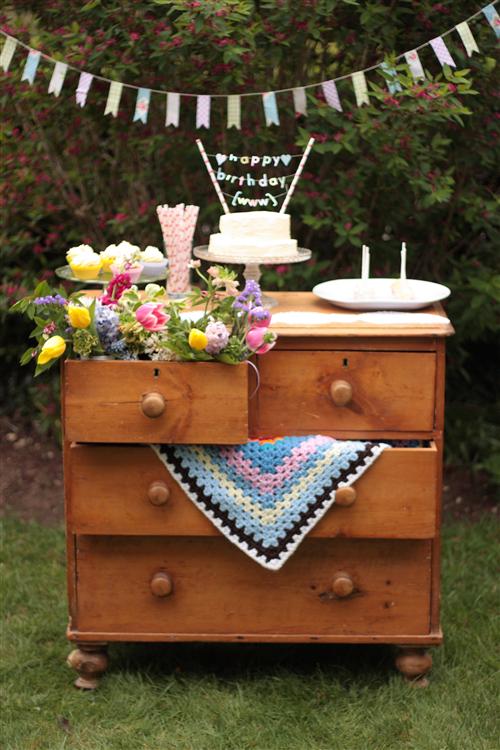
Using garlands to decorate your venue way is a sweet and easy way to add prettiness…
Love My Dress Wedding Blog – Photography Copyright (c) 2011, Whimsical Wonderland Weddings
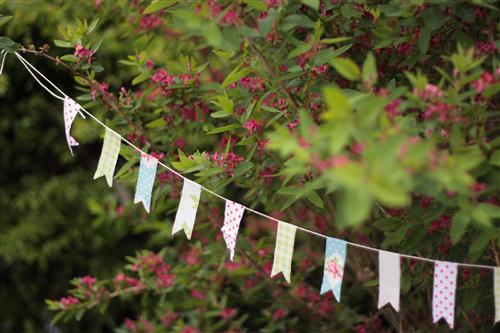
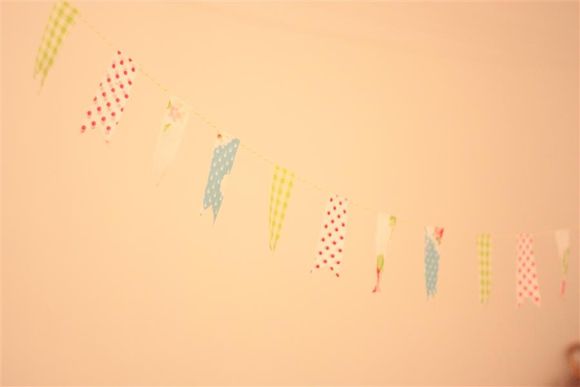
For my garland, I choose mismatched fabrics and yellow bakers twine, which creates super cute look. You can choose a certain colour scheme if you wish or a different shape fabric; the result will be great either way. It’s so easy to do, you’ll be making lots of them hehe! ☺
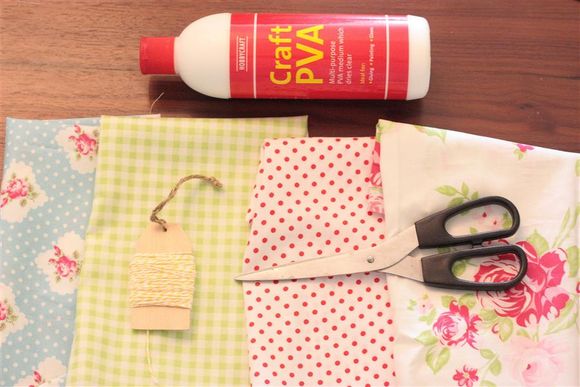
What you need:
♥ Assorted Fabric
♥ String or Twine
♥ PVA Glue
♥ Bowl of Water
♥ Cardboard Template
♥ Pins
♥ Scissors
Steps:
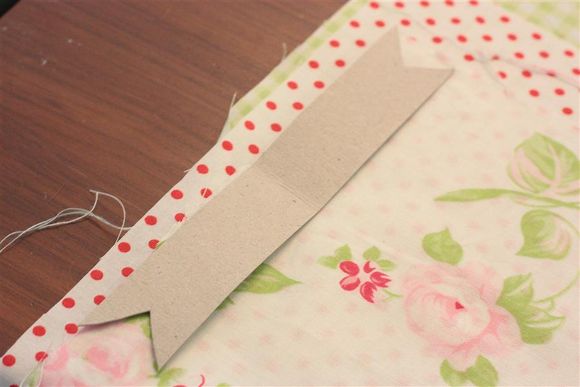
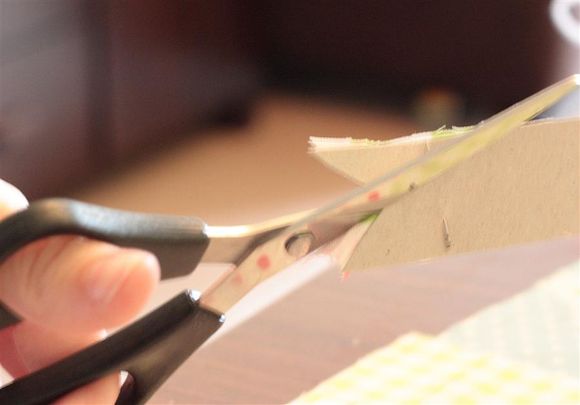
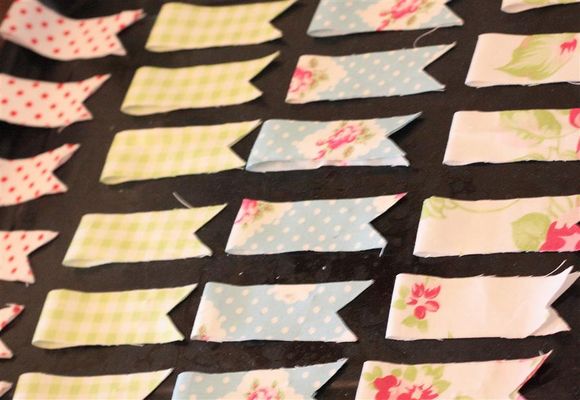
1. Pin your template to your fabric; for a symmetrical finish fold the fabric in half and cut.
2. Get your length of twine and hang it up, I did mine above the bath.
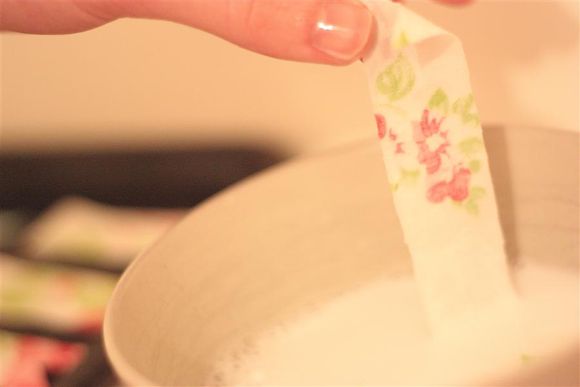
3. Mix a little PVA glue into your bowl of water.
4. Get a piece of fabric and dunk the whole of it in the glue/water mixture, squeezing out the excess.
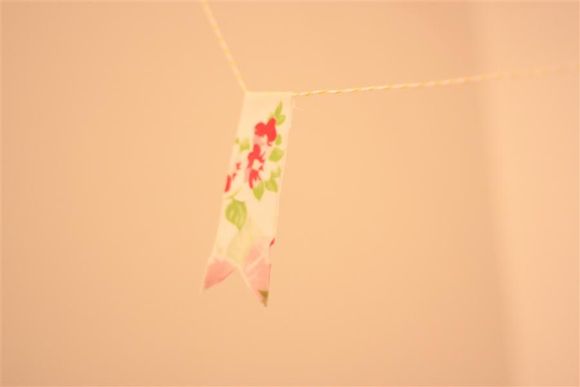
5. Hang the fabric over the twine and fold in half.
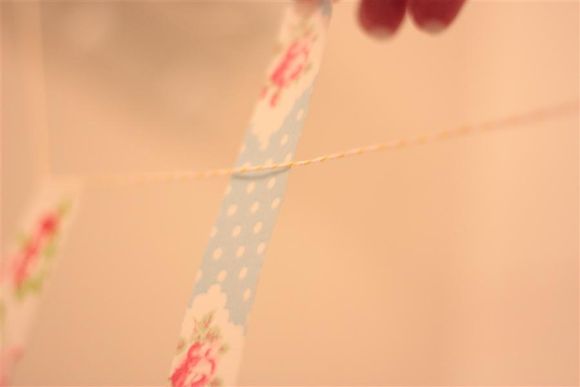
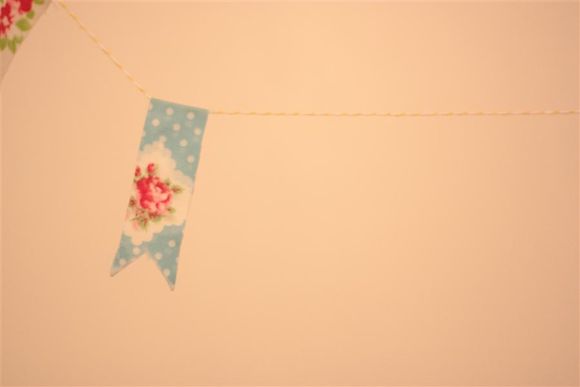
6. Repeat steps 4 & 5 until you have filled the twine with your flags. Ensure to space the fabric evenly.
7. Leave to dry and it’s all complete. If you wish tie a knot at each end for a neat loop or tie into the desired position.
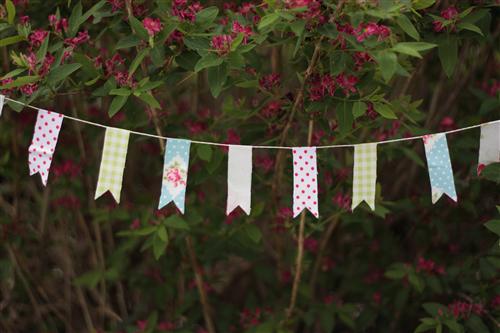
Have fun and happy crafting,
Lou xoxo
♥ ♥ ♥
Aww Lou! How cute is this? So simple and yet so effective 🙂 I am going to make these little flags with my Daughter next week as it's half term. For Ken and Barbie's wedding, of course 🙂
Visit Lou's Whimsical Wonderland Weddings blog here and click here if you'd like more DIY Bride Style on Love My Dress 🙂
Happy DIY'ing folks! 😉
Much love,
Annabel xXx
♥

