Hello weekend people, I thought you might appreciate a little DIY project this fine Saturday. Wedding balloons have come full-circle haven't haven't they? Once derided for being somewhat 'naff' and a little tacky, the giant, oversized balloons with pretty tassels have managed to win the hearts of brides all over the world (aahhh), and are now often spotted gracing wedding blog pages.
We've teamed up with Erin, creative director of our partner Berinmade – an award winning UK based wedding stationery and paper goods company. Erin is rather a dab-hand at fun creative projects and this week she's turned her hand to pretty balloon style.
Have fun with this one folks 🙂
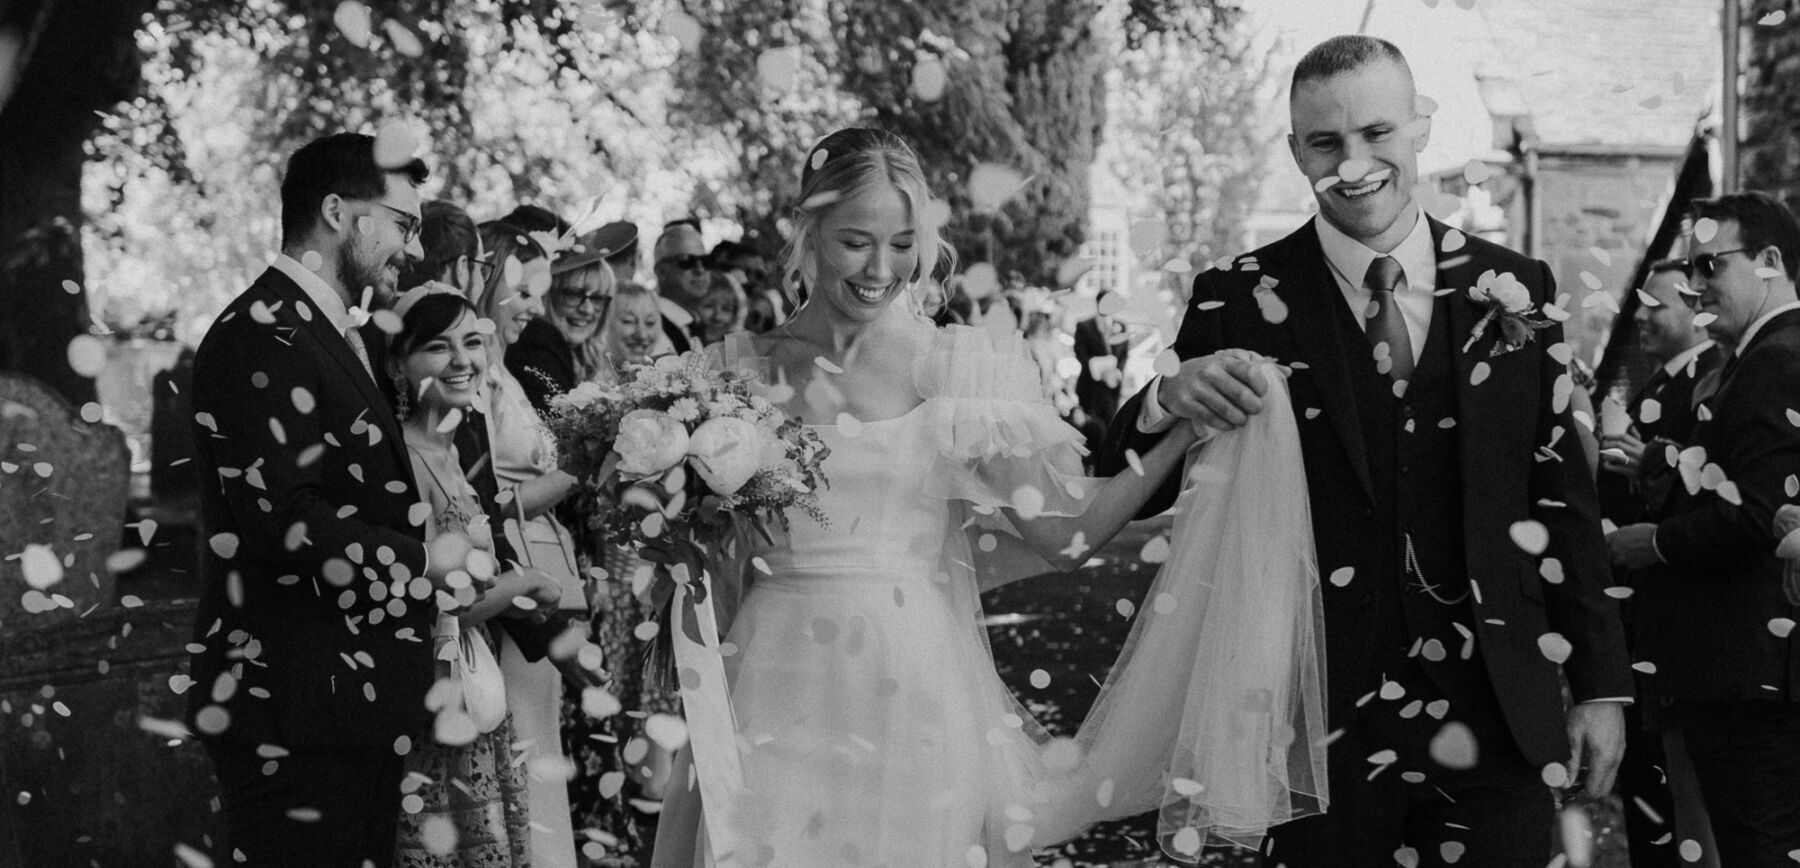
Photography by Belle and Beau Photography, styling by Mimi Nicole Events

What you need:
Hand Cut Confetti (A handful cut out of tissue paper)
3 to 4 Colours of tissue paper
Clear Round Balloon
Permanent Marker
Gold Ribbon
Bicycle Bump

(1) Taking the relaxed balloon, put a handful of confetti inside of it.

(2) Using the bicycle pump, pump until the balloon is full. Then pump in a little more air. This is because when you tie up the opening, you will inevitably let a little air out. Use a gold curly ribbon to tie up the balloon, leaving about 5cm of loose end so we can tie the tassels on later.

(3) To make the tassels - take a long section of the tissue paper, approximately 30cm by 10cm, fold the long side into half (so it's not 15cm by 10cm), then cut strips alongside the long length to make a fringe, always leaving about 3cm at the top, so that the whole piece stays attached. The fringe should be connected by the crease at the top.

(4) Now, undo the crease along the top of the tissue paper to reveal a small patch in the middle that is "un-fringed". Grabbing a side of the fringe with each one of your hands, twist the tissue paper lightly (as if you were ringing a towel). so that the middle patch is now twisted and compact.

(5) Bring the two ends of the fringe together, making a loop at the top. Secure the loop with a piece of string or ribbon with a double-knot.

(6) When you have finished making all your tassels, string them along with longer piece of ribbon, securing each one in its place with a simple knot. Your tassels are now all connected!

(7) Now connect your string of tassels to the ribbon you previously left on your balloon, securing with a double-knot again.

(8) Take a permanent marker and write down your menu items along the balloon!

Let us know how you get on! We'd love to see some Instragram or Twitter pictures of your own balloons:)
Erin Hung
Creative Director, berinmade.com

Berinmade is an award winning UK based wedding stationery and paper goods designer, who ships her beautiful products worldwide. Please visit berinmade.com for further information. You can also follow Berinmade on Facebook and Twitter.

Annabel View all Annabel's articles
Founder of Love My Dress. Passionate Podcaster and Editor. Annabel lives in rural North Yorkshire with her husband and business partner Philip, their two daughters and menagerie of furry hounds. She loves photography, meditation, walking, being outdoors and star gazing. She is fierce when it comes to championing talent within the wedding industry and when she's not working on Love My Dress, she supports her husband Philip in the running of the family's sustainable flower farm and floral design business, Moonwind Flowers. In 2013, she became a published author.