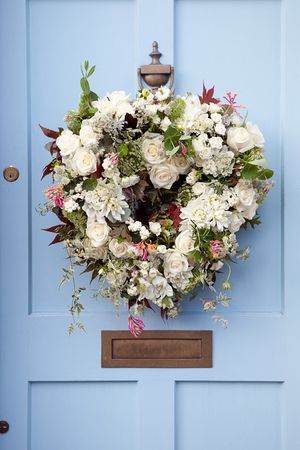
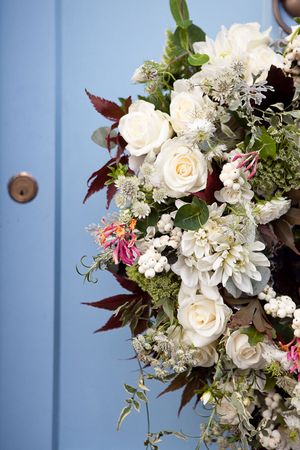
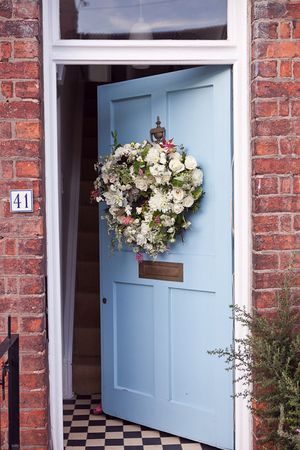
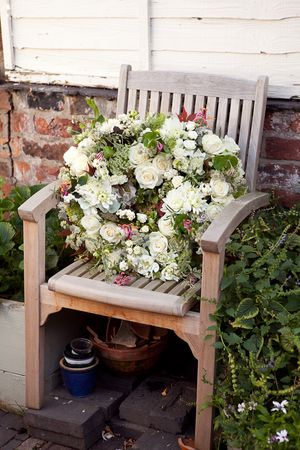
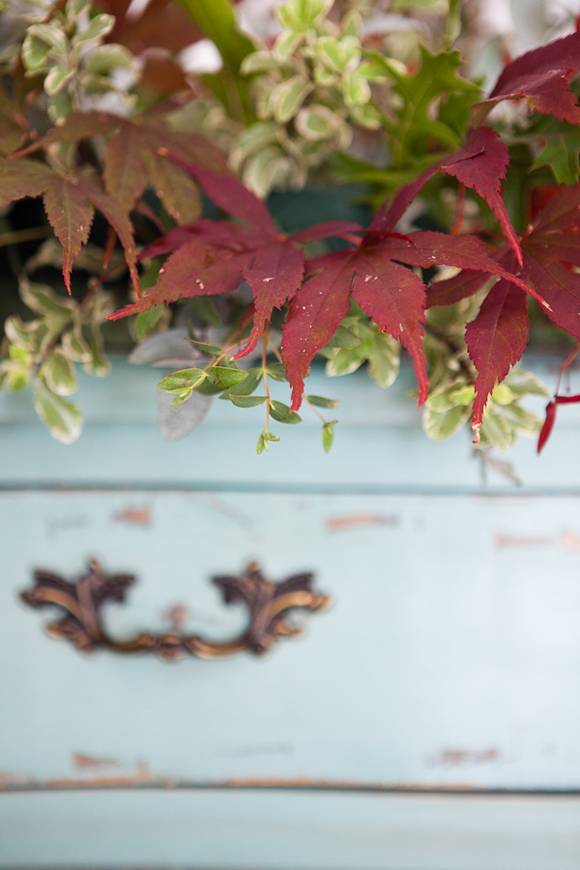
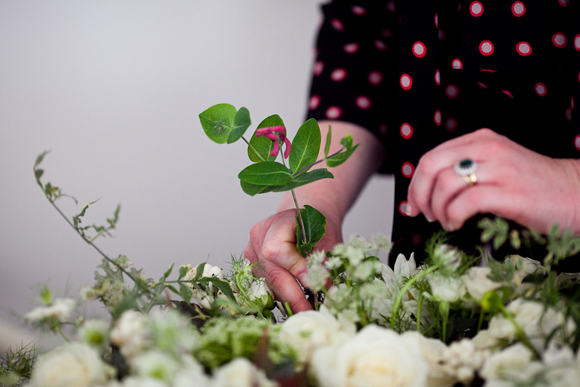
Following a call out a few weeks back for readers/suppliers to contribute to Love My Dress by supplying DIY features, the wonderful Laura Coleman of Laura Coleman Flowers sent in this brilliant DIY tutorial, wih photoraphs by Jill Thorning-Jensen, that guides you through how to create your own flower heart wreath.
Over to you Laura…
♥ ♥ ♥
There is a certain joy in taking something as practical and basic as a floral foam base in a peculiar shade of green and turning it into something beautiful, elegant and stylish – and that's before it's something that is personal, and includes foliages and flowers that you, a friend or even the mum-in-law to be has lovingly collected from the garden.
Unless you are The Queen and have access to Highgrove or have a parent like my Mother who is always found in her garden (usually with a glass of wine I might add) or unless you fancy yourself as a bit of a Charlie Dimock of the gardening World, it is highly unlikely that you'll be able to create this heart out of things entirely harvested yourself. So, don't be afraid to mix and match. Buy a bit here, crop a bit there or, if you want, use the same principles and shrink it down to not be quite so massive…
Love My Dress Wedding Blog – Photography Copyright (c) 2011, Jill Thorning-Jensen
So, without further ado, here's how to set about creating your very own garden inspired heart wreath.
You will need:
1. A heart shaped foam base 11. 15 dahlias
2. Two lengths of floristry wire 12. 15 spray roses
3. Floral tape 13. 10 stems of ammi
4. A knife 14. 2 stems of hydrangea
5. A length of ribbon or lace 15. 10 stems of Love-in-a-mist
6. Flower food 16. 2 stems of white snowberries
7. A sink of clean water 17. 10 stems of Astrantia
8. Good sharp pair of scissors 18. Mini variegated pittosporum
9. Tea towel 19. Eucalyptus
10. 15 roses 20. Selection of garden foliages and flowers
….plus a lovely hot cup of tea and a biscuit – if you're lucky 🙂
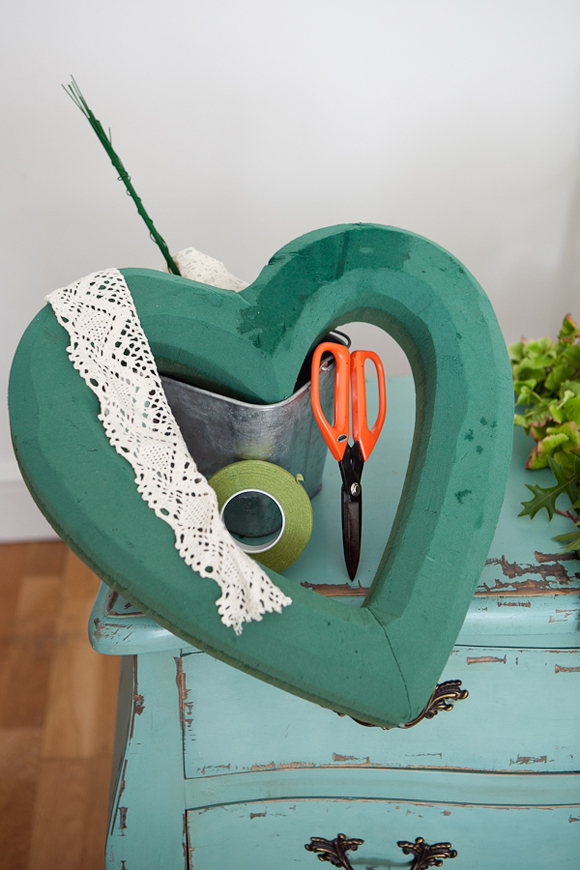
{1} Firstly, this whole thing must be enjoyed. As when baking, always ensure there's a strong cup of tea on the go. Normally when undertaking baking related tasks, I recommend a sherry, but as this involves using scissors, best stick to the tea. Leave yourself a good couple of hours to create your design from preparation to clear up. There's alot of flowers and foliage involved, so start off getting everything in one place…
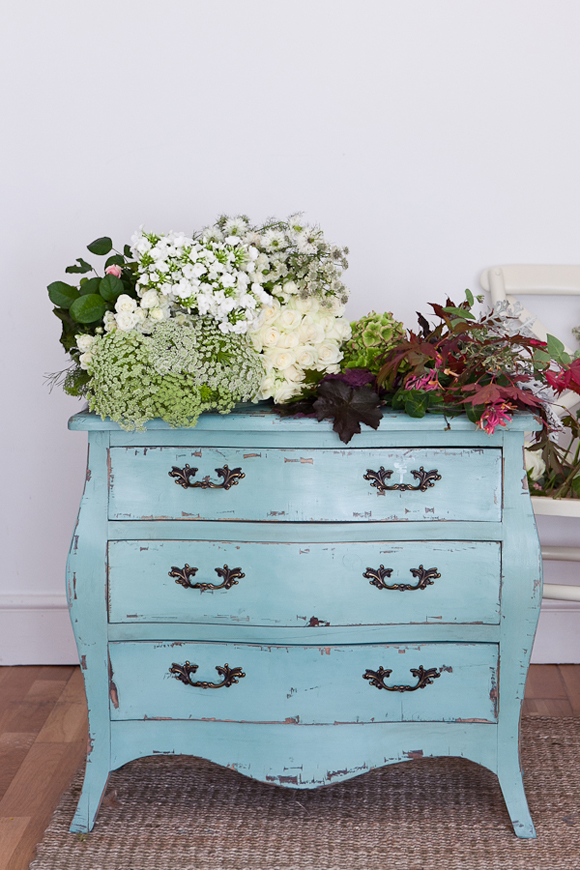
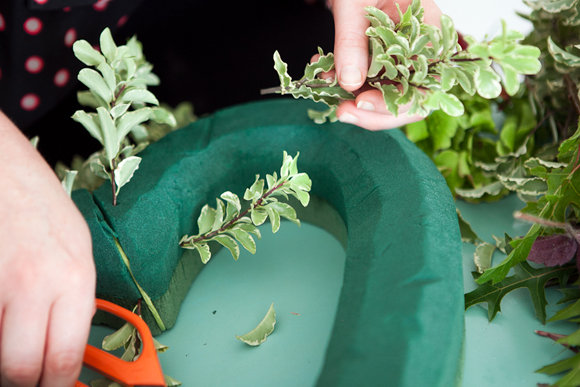
{2} Gather together your equipment and shape the heart with a blunt knife. This will make the edges of the heart more rounded and be easier to work with…
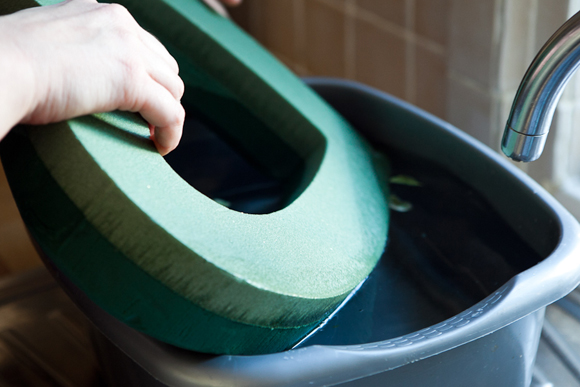
{3} Run a sink full of water and dissolve your flower food in it. Place the heart, flower foam side down in the sink. Let it gather water naturally. Don't push it into the water or it will trap air bubbles…
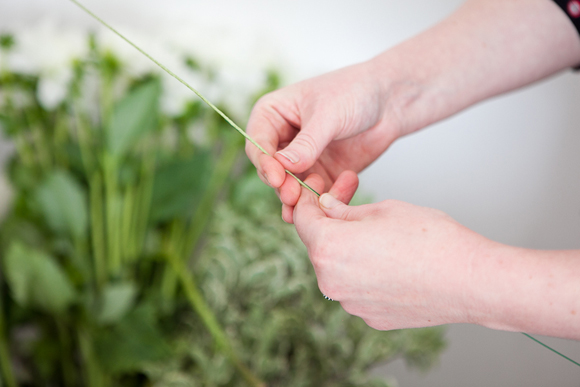
{4} Cover a length of wire in floral tape. As you get half way down, add the next length of wire and continue to bind until the two pieces are covered. Do a second layer over the top making sure the sharp tips of the wires are covered.
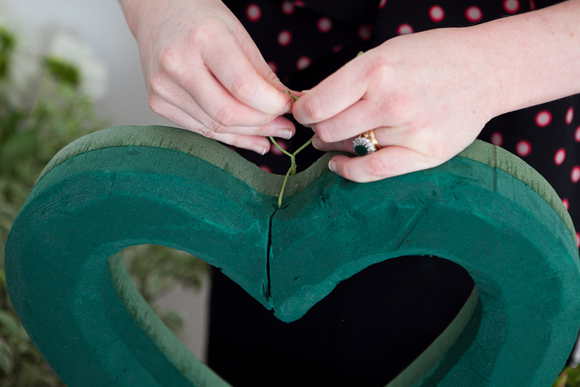
{5} Wrap the wire around the top of the heart, then twist together the two ends to make a hoop. This is what you will use to hang the heart. It will be quite heavy when it's done, and the wire will take the weight.
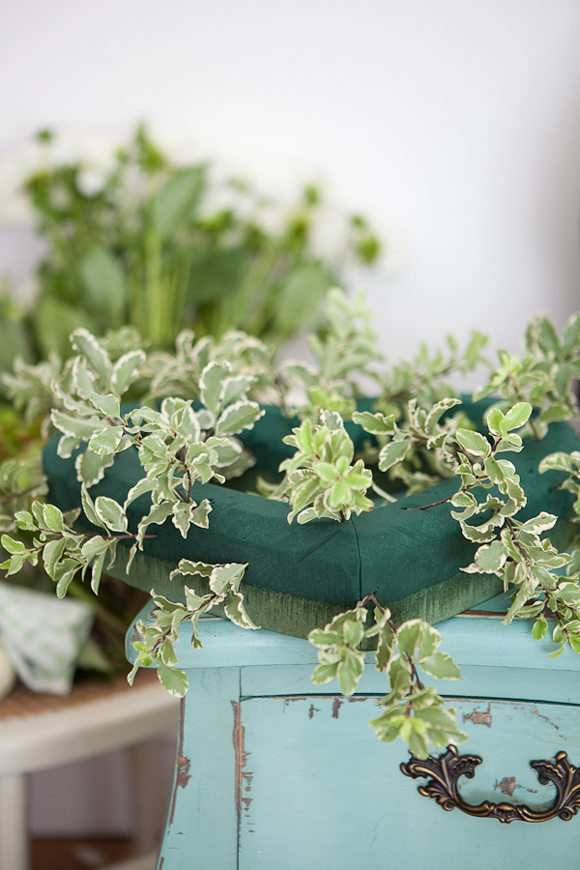
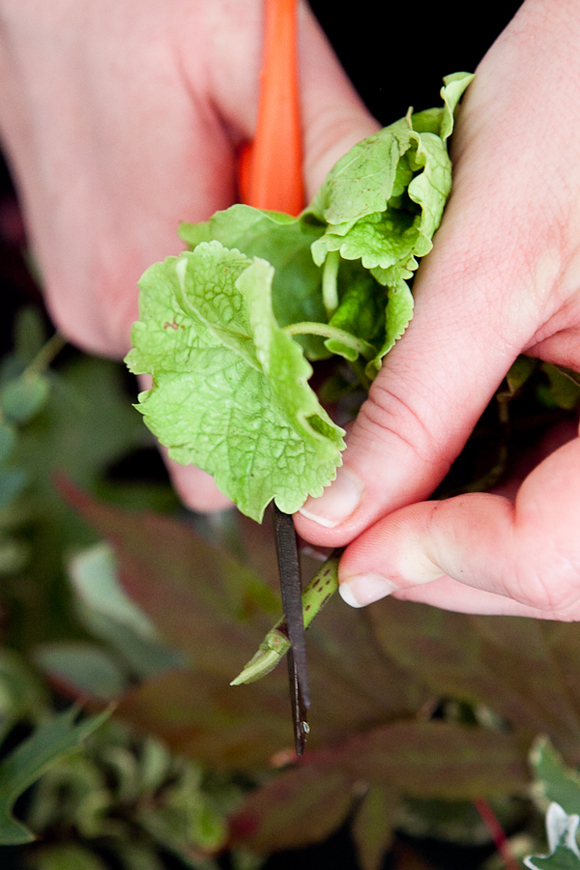
{6} Start with the pittosporum foliage. Using scissors, cut sections of the foliage in a sharp point and insert into the floral foam following the natural shape of the heart.
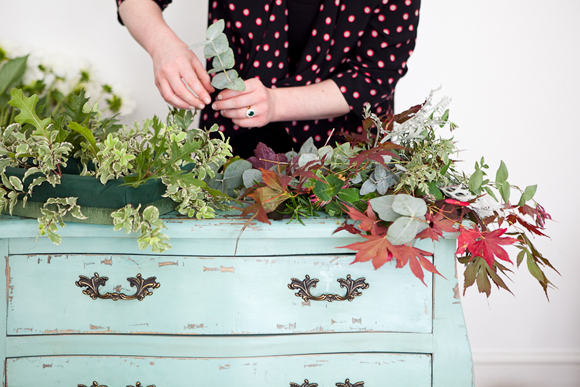
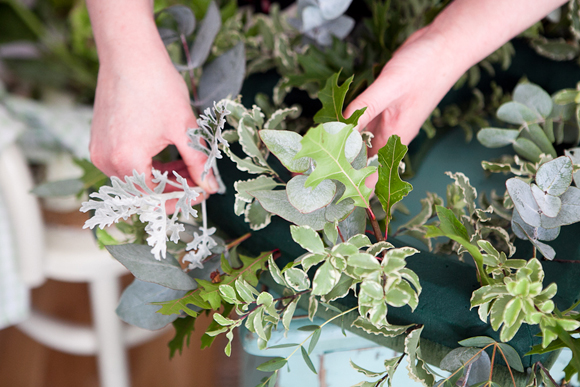
{7} Continue to add layers of foliage. I've used oak and eucalyptus that I bought, with senecio, heucera leaves and acer that I picked from my garden. As you continue to add to the design, the oasis will release water so keep your tea towel handy to keep surfaces dry and tidy…
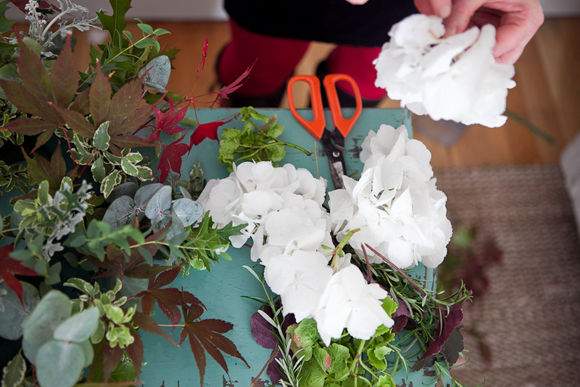
{8} Now for the flower bit. Using sharp scissors, cutting the stems on a sharp angle, cut 'florets' of hydrangea from the two stems. This should give you between 10 and 15 smaller sections you can use.
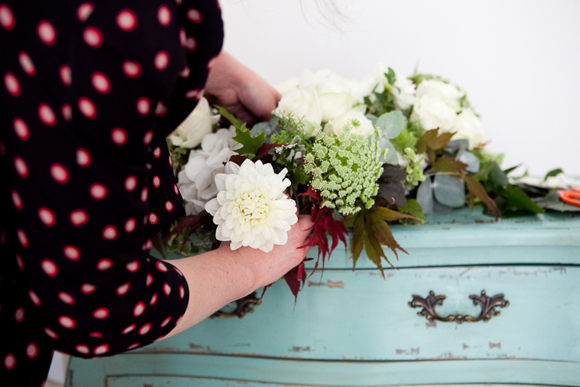
Insert these into the floral foam around the heart. Don't worry that they sit lower than the foliage. This is all part of adding texture to the design so that it takes on a natural feel to it…
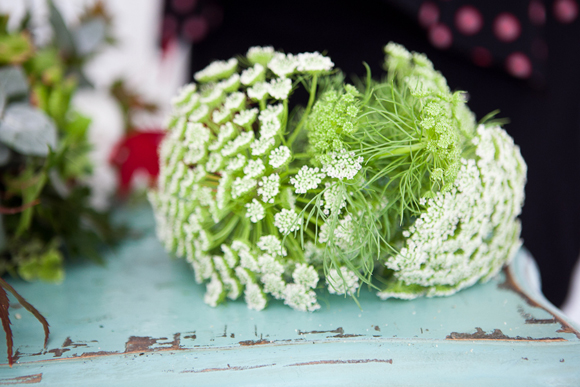
{9} Add the ammi starting to fill the gaps….
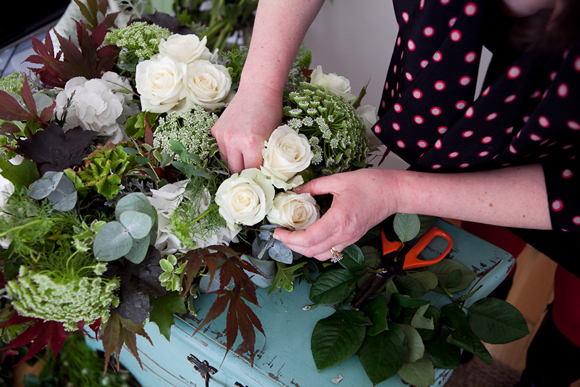
{10} Now you're ready for the roses. In groups of three, add your roses to your design cutting all stems on a sharp angle…
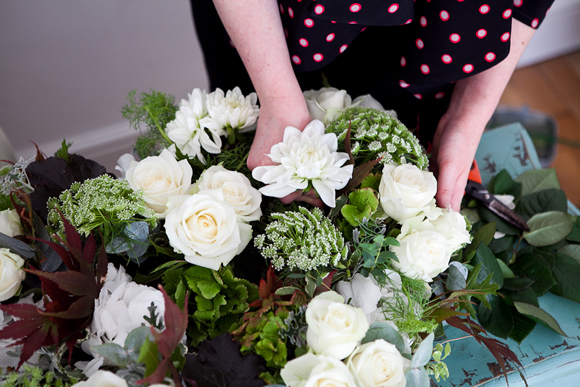
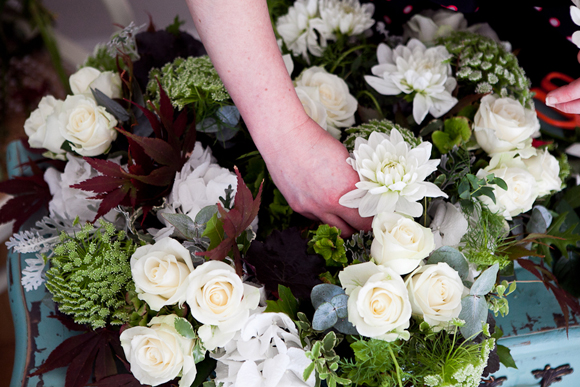
{11} Add the dahlia in the same way, however, where there is only room for one, only add one. Use a strong stem and insert it firmly into the 'point' of the heart to make sure you maintain the heart shape. Fill any gaps with sections of spray roses…
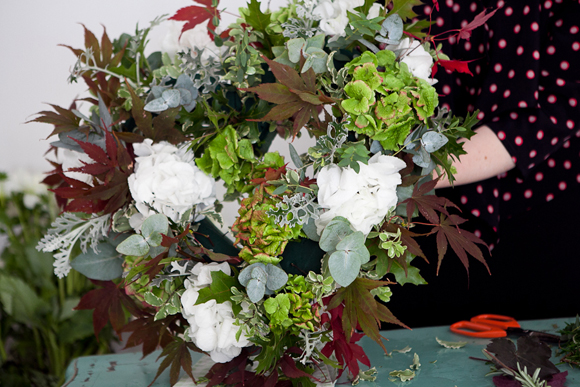
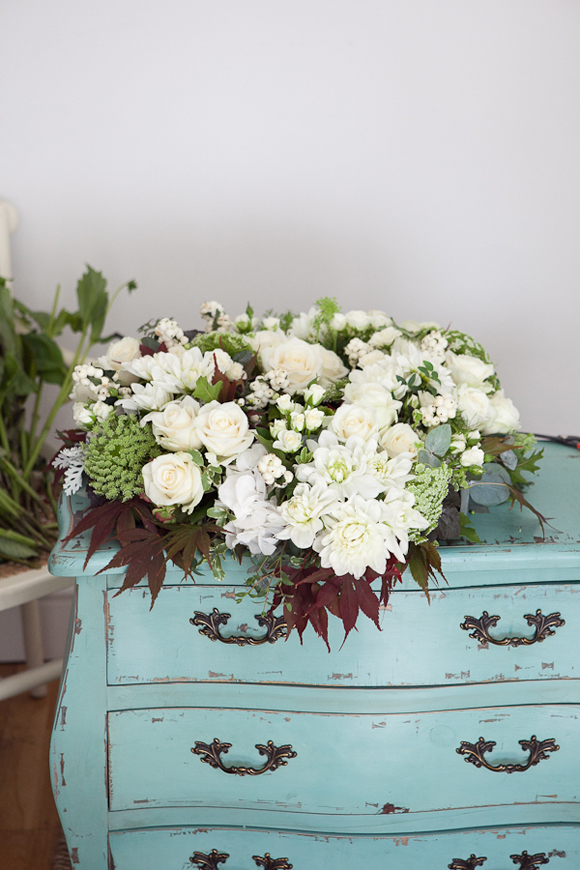
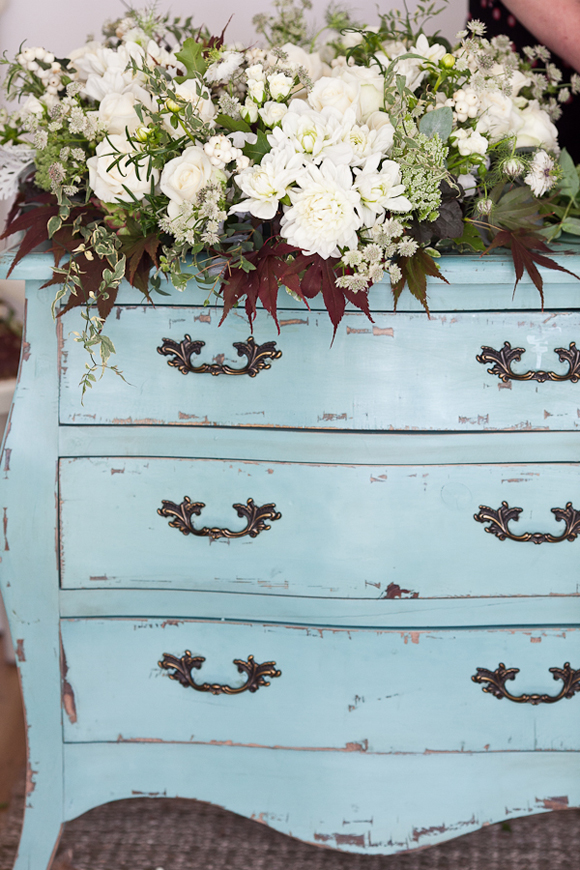
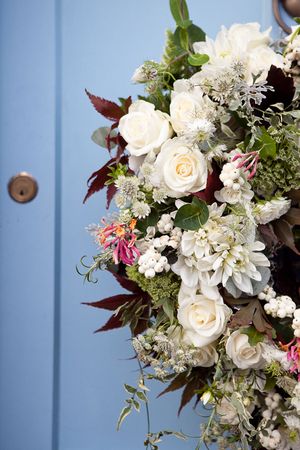
{12} Some might say that this is done. By now, you may need to make another cup of tea and refuel with a lemon bon bon or two. It should look something like this…
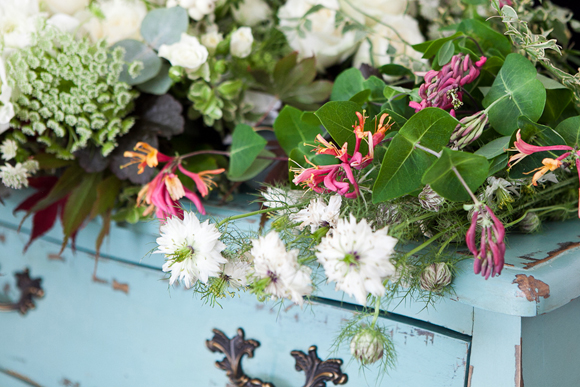
{13} Adding the last few pieces gives all the lovely softness. Be brave. Let things stick out, hang loosely and stand proud. To mine I added nigella flowers, astrantia and stems of snowberries that I bought. I then added honeysuckle, jasmine and rosemary which I gathered from my garden…
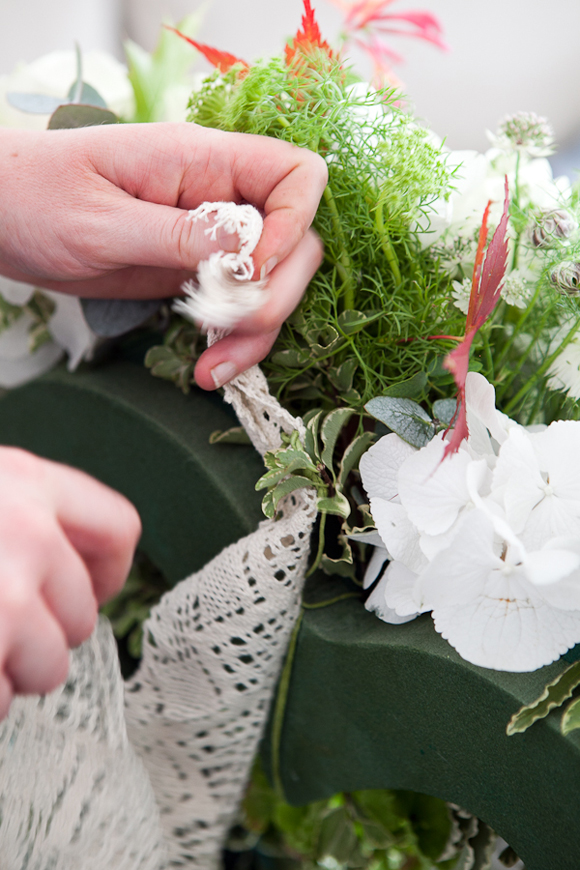
{14} Take your ribbon or lace and tie onto your loop. This is decorative only and won't take the weight of the wreath
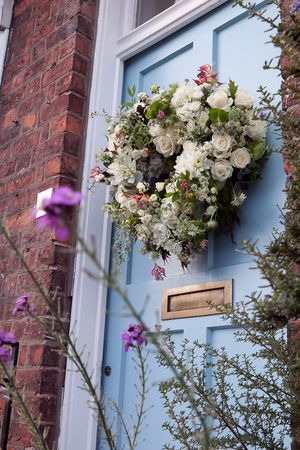
{15} Hang your heart up outdoors for a short while to allow it to drip for a bit. Keep it in a cool place overnight, it will look lovely on your front door on your wedding day, on a Church gate, or at your wedding reception…
Et voila! 😉
A huge big thank you to the creative duo that brought us this feature, Photographer Jill Thorning-Jensen and Florist Laura Coleman, who's own blog you can visit here.
I've many more DIY Tutorials coming up in the future, but if you would like to contribute one yourself, or request a particular tutorial, please don't hesitate to drop me a line at [email protected]. I put regular call out's for contributions on the Love My Dress Facebook page – which if you aren't already, you should be 'Liking' 😉
You can view other DIY tutorials and 'How To' guides that have already been published here 🙂
Finally, if you attempt this tutorial, please let me know! And I'd love to see some photos too 🙂
Much love all,
Annabel xXx
♥

