Afternoon my loves 🙂 I'm adding to the collection of DIY and 'How to…' features this afternoon by bringing you a delightful little tutorial from regular Love My Dress contributor Michelle Kelly of Pocketful of Dreams - one for the weekend perhaps? 😉
Michelle is an experienced designer, planner and stylist of creative weddings and events, based in the North West. Through her company Pocketful of Dreams she creates events that are stylish, quirky and tasteful with a twist of personality and a whole heap of fun.
You can find Michelle via Twitter, Facebook, Pinterest and the Pocketful of Dreams Wedding Blog.
Lets get our craft on…
Love My Dress Wedding Blog – Photography Copyright (c) 2012, Katy Lunsford
I have seen so many cute projects on my internet travels that use paint swatches to create something really distinctive and pretty so I was determined to one day make something using these little beauties.
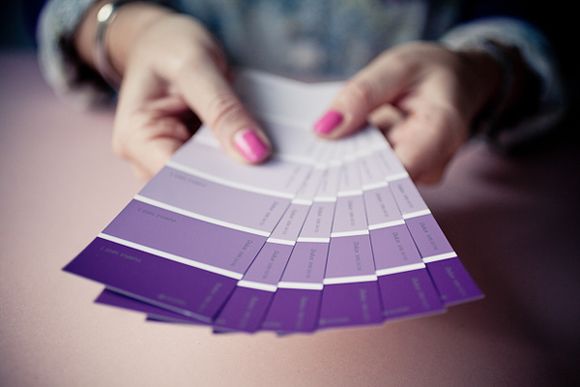
You know what I mean by paint swatches right? Those little paper samples of all the paint colours that you can get at the local DIY store. The range of hues available is just incredible, you can pick up almost any colour and also have them graduating from the lightest to the darkest shades of your chosen hue, allowing you to create a really pretty Ombre effect, which has been so hot in the world of weddings recently…
Now I will admit this is a delicate operation and it is time consuming, so if you want to produce these en masse then I suggest roping in a few friends to help you, perhaps enticing your bridesmaids with the offer of wine and cake one night would do the trick. Just don't let them near the wine until your butterfly's are all stuck in place, or you could end up with some seriously wonky boxes.
These are perfect as favour boxes or if you have cupcakes why not give them to your guests in one of these. They could also be a creative little birthday or Valentines gift box for your loved ones. Just change up the colours to something a little more manly if going with the Valentine's idea.
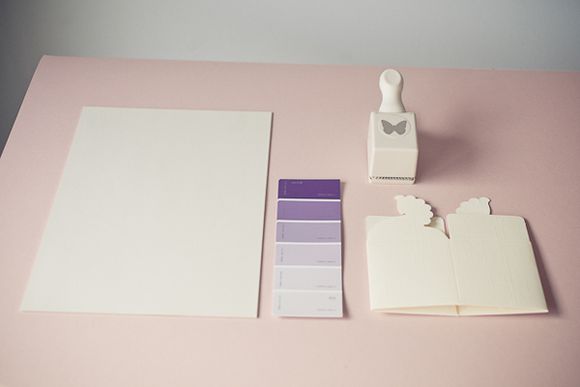
You will need…
1. A box to use as a template ~ I used these as my template £11.70 for 25 boxes on Ebay
2. Pencil
3. Coloured Card
4. Scissors
5. Paint Swatch Samples ~ I'd suggest at least 10 paint-swatch strips per box are needed
6. Glue
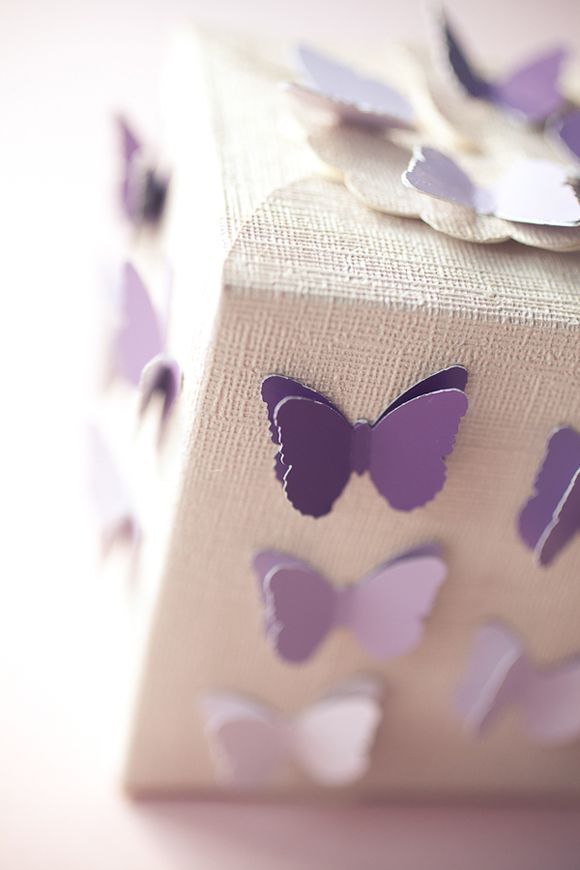
7. Shape Punch ~ I used this butterfly punch by Martha Stewart as I wanted to create a 3D effect and the butterfly shape was perfect for this purpose. But you could use other shapes too.
Step 1. Take the box and very gently pull it apart, you want to be careful not to rip any part of it as this will be your template. Once you have pulled it apart, smooth it down flat ready to use.
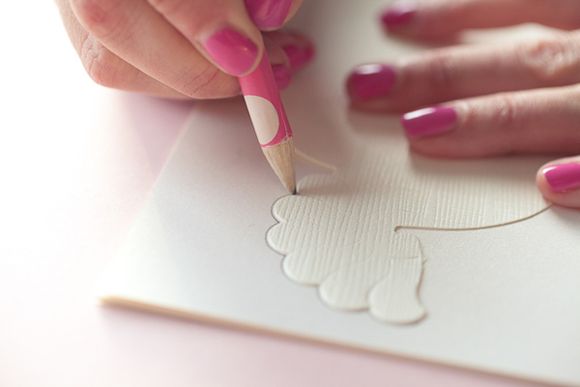
Step 2. Using the box as your template, lay it onto your chosen card stock so it is face down (ie the outside of the box is facing downwards and the best side if your card is also facing downwards so you are drawing on what will be the inside). Draw all the way around the box then cut out using scissors.
Step 3. Score the box where the folds need to be (Using your pulled apart box as your guide) and begin folding up the box, glue the necessary flaps to secure the box in place.
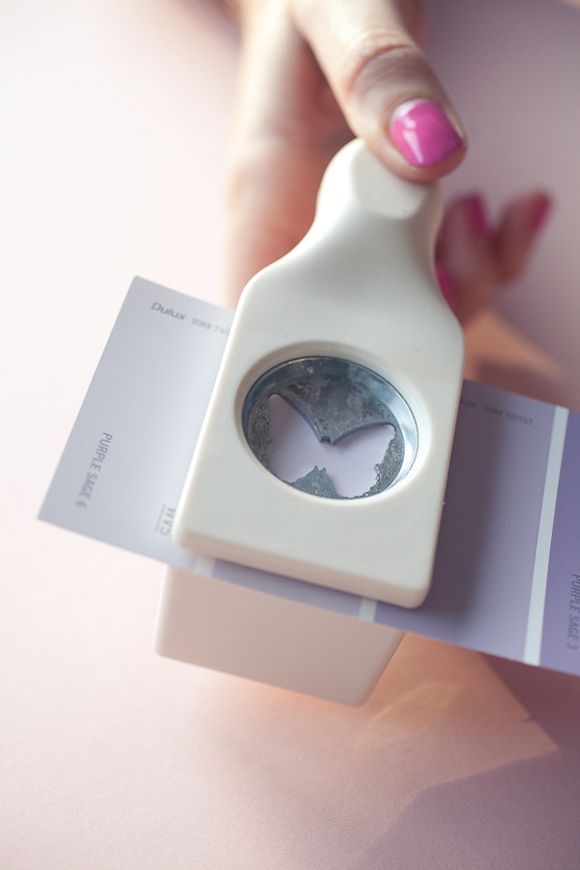
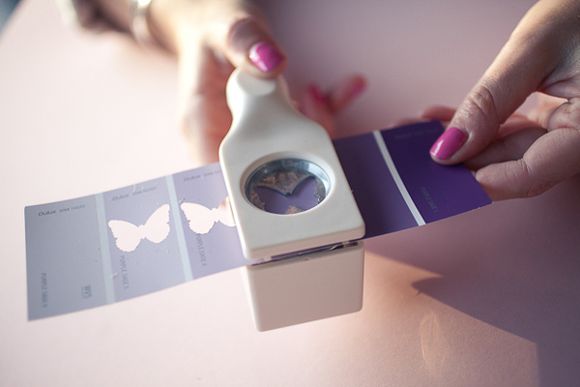
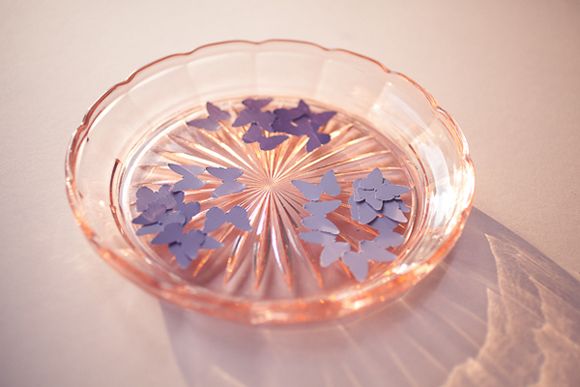
Step 4. Now for the fun part, take your paint swatches and begin punching the butterfly shapes. My tip here would be to turn your punch around so you can see where it is punching, this way you get right in the centre of the coloured part of your paint-swatch strip and don't get any of the nasty white lines. Keep each colour separated so they are easy to pick up when sticking onto the box.
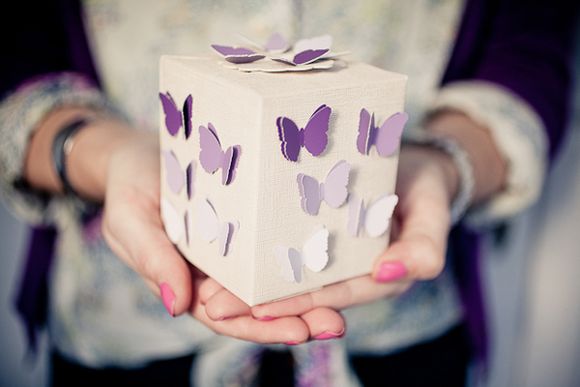
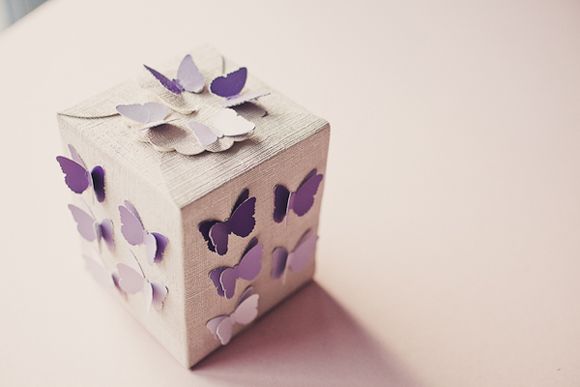
Step 5. Now begin sticking them to the box using PVA glue. I used tweezers to make this a little easier to pick up my butterflys, sticking the first ones down flat, in an ombre style, with the darkest ones at the top, graduating to the lightest ones at the bottom. I then stuck another butterfly on top, but I slightly bent each one so it's wings were sticking up from the box to create the 3D effect, and only stuck down the spine of the butterfly.
And there you have it, a pretty butterfly gift box…
Best wishes,
Michelle x
♥ ♥ ♥
How cute! Perhaps leave a comment below to let us know if you'll be trying this out – or taking inspiration from Michelle and using her paint swatch idea in another way perhaps?
You can see more DIY and 'how-to' guides here on Love My Dress. And you can find Michelle via Twitter,Facebook, Pinterest and the Pocketful of Dreams Wedding Blog.
Much love everyone,
Annabel
♥

