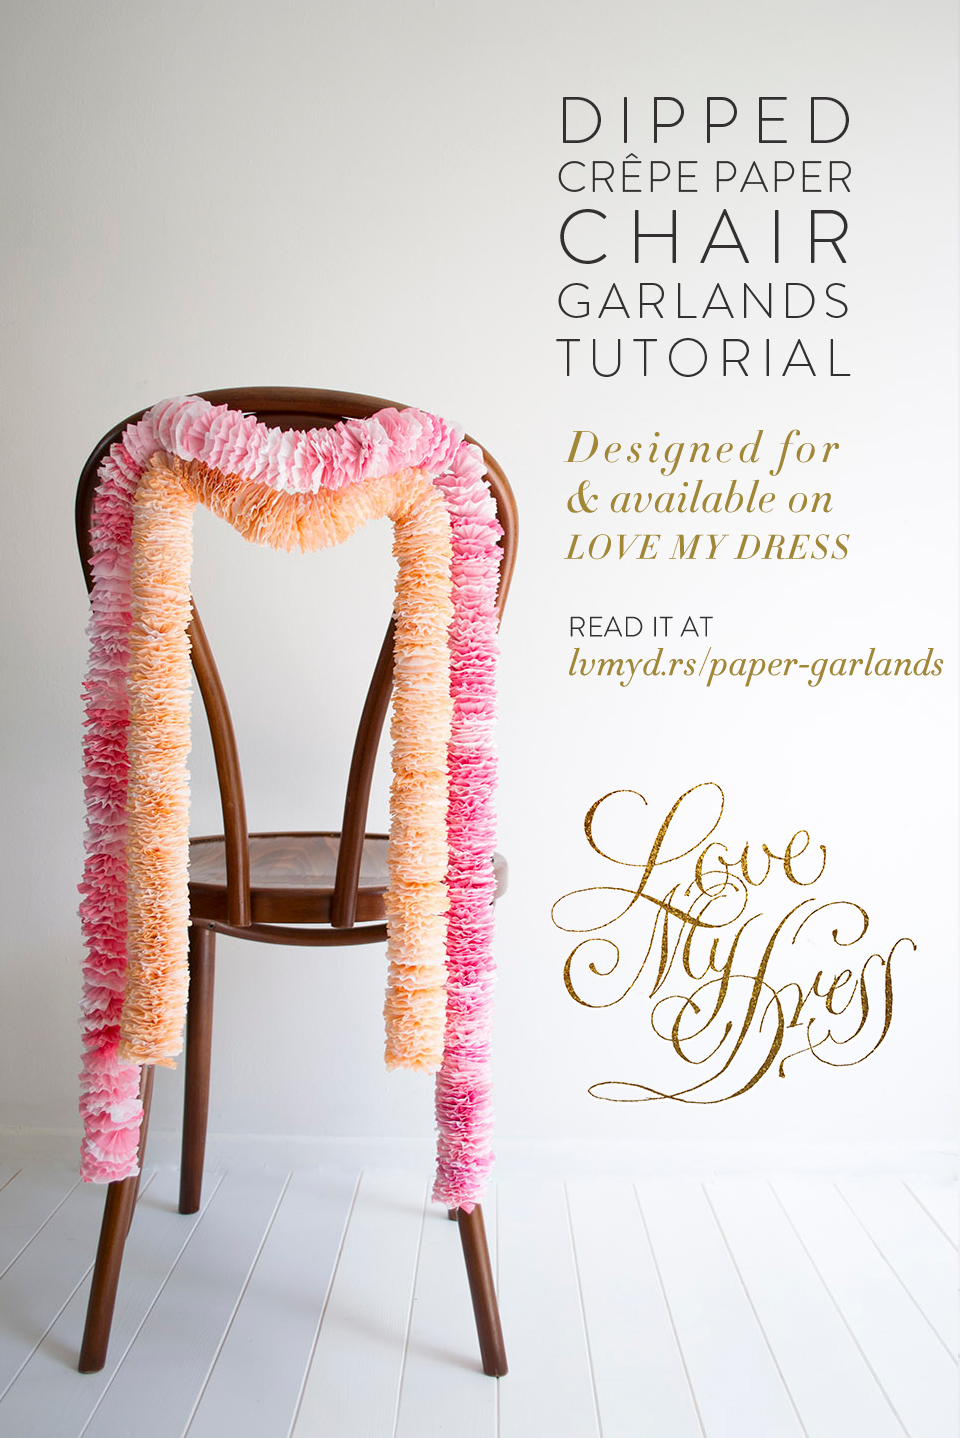
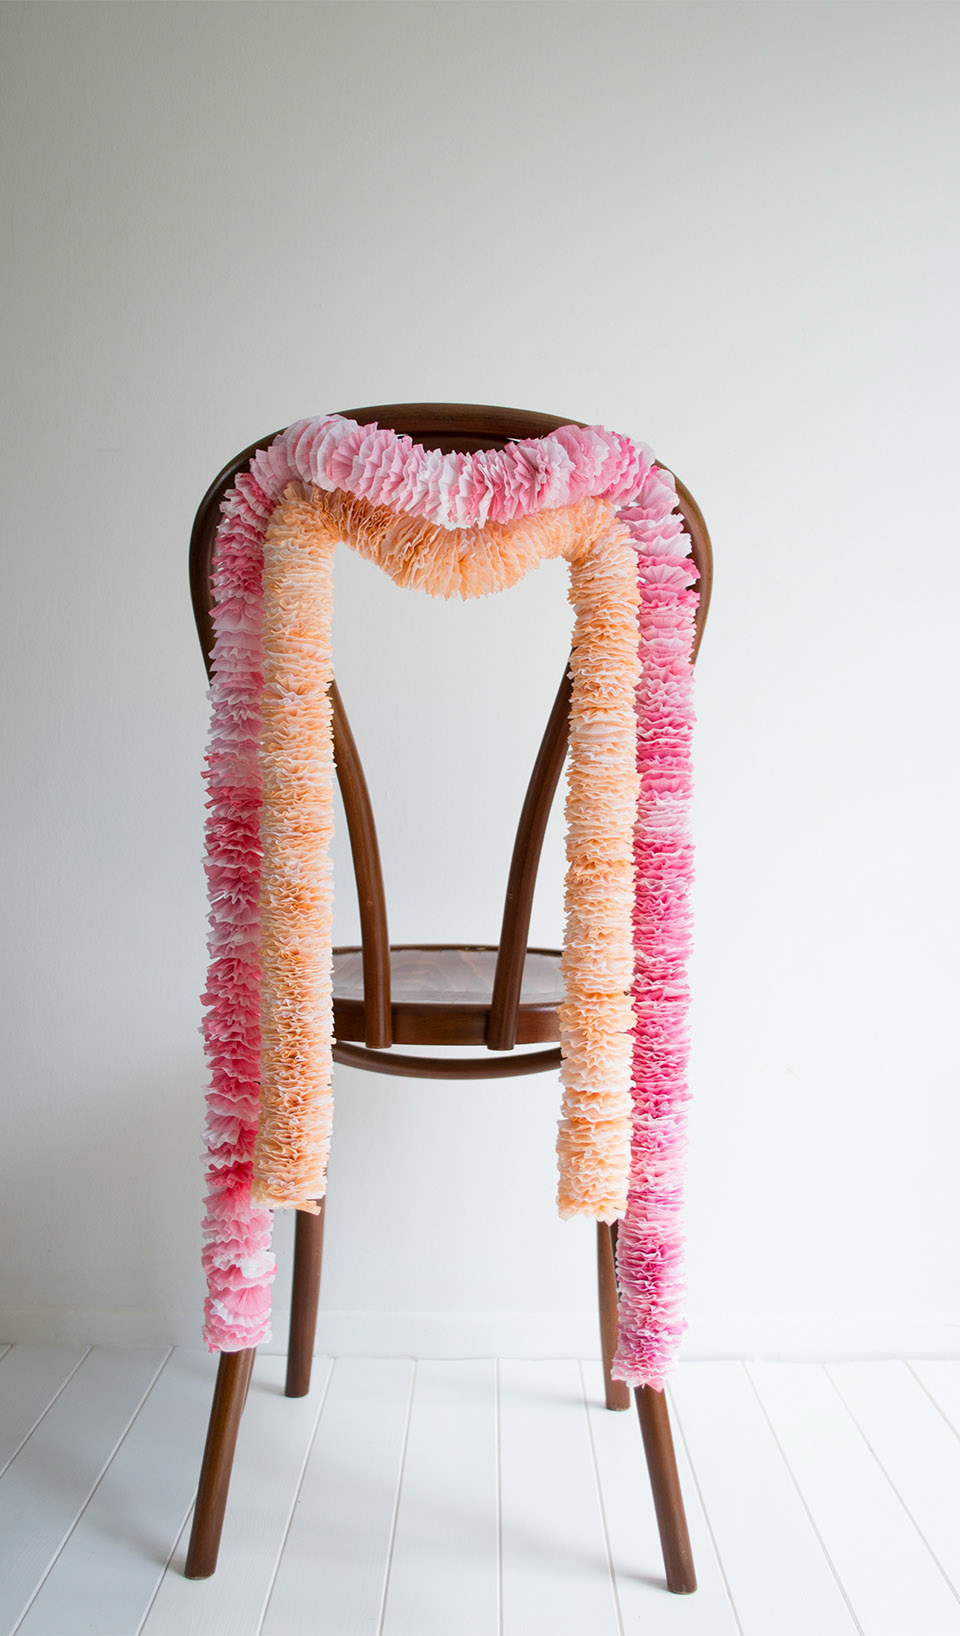
We had such a great response to last week’s chair back DIY tutorial that I’ve produced two more tutorials to help you decorate your wedding chairs. Creating simple decor like this is a fun way to get involved in a spot of wedding DIY and you will love how easy this is. The result is also really pretty and will add a charming splash of colour and style to make your wedding photographs pop.
Skill Level: Easy
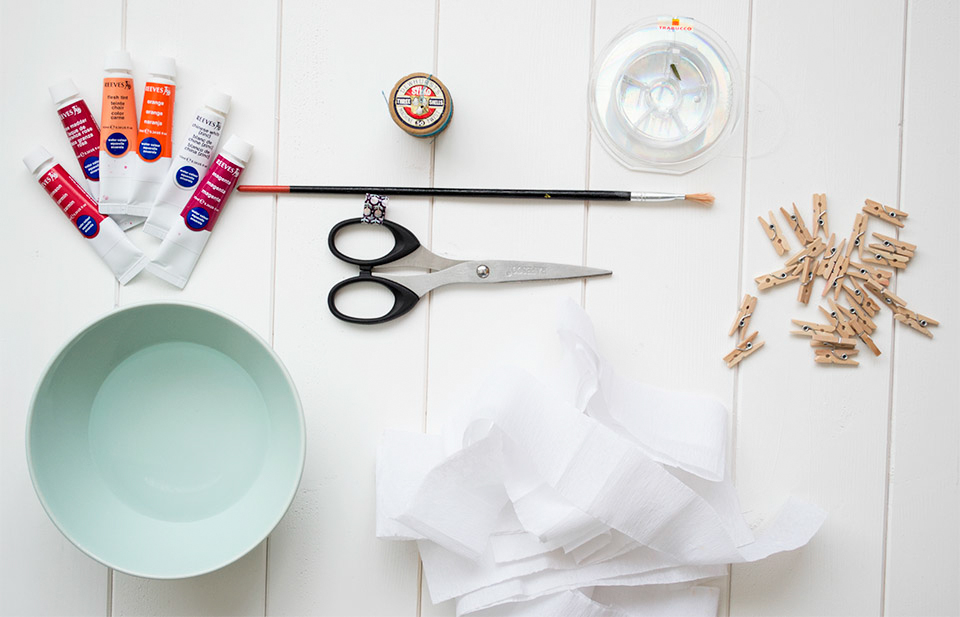
You Will Need:
- Strips of single ply white crepe paper cut into 2’’ wide and 1m long strips. The amount you’ll need depends on the height of your chair, but here the longer garland needs around 20 strips
- Watercolours of your choice
- A bowl of water
- Scissors
- Paint brush
- Pegs
- Clear jewellery wire
- Needle and thread
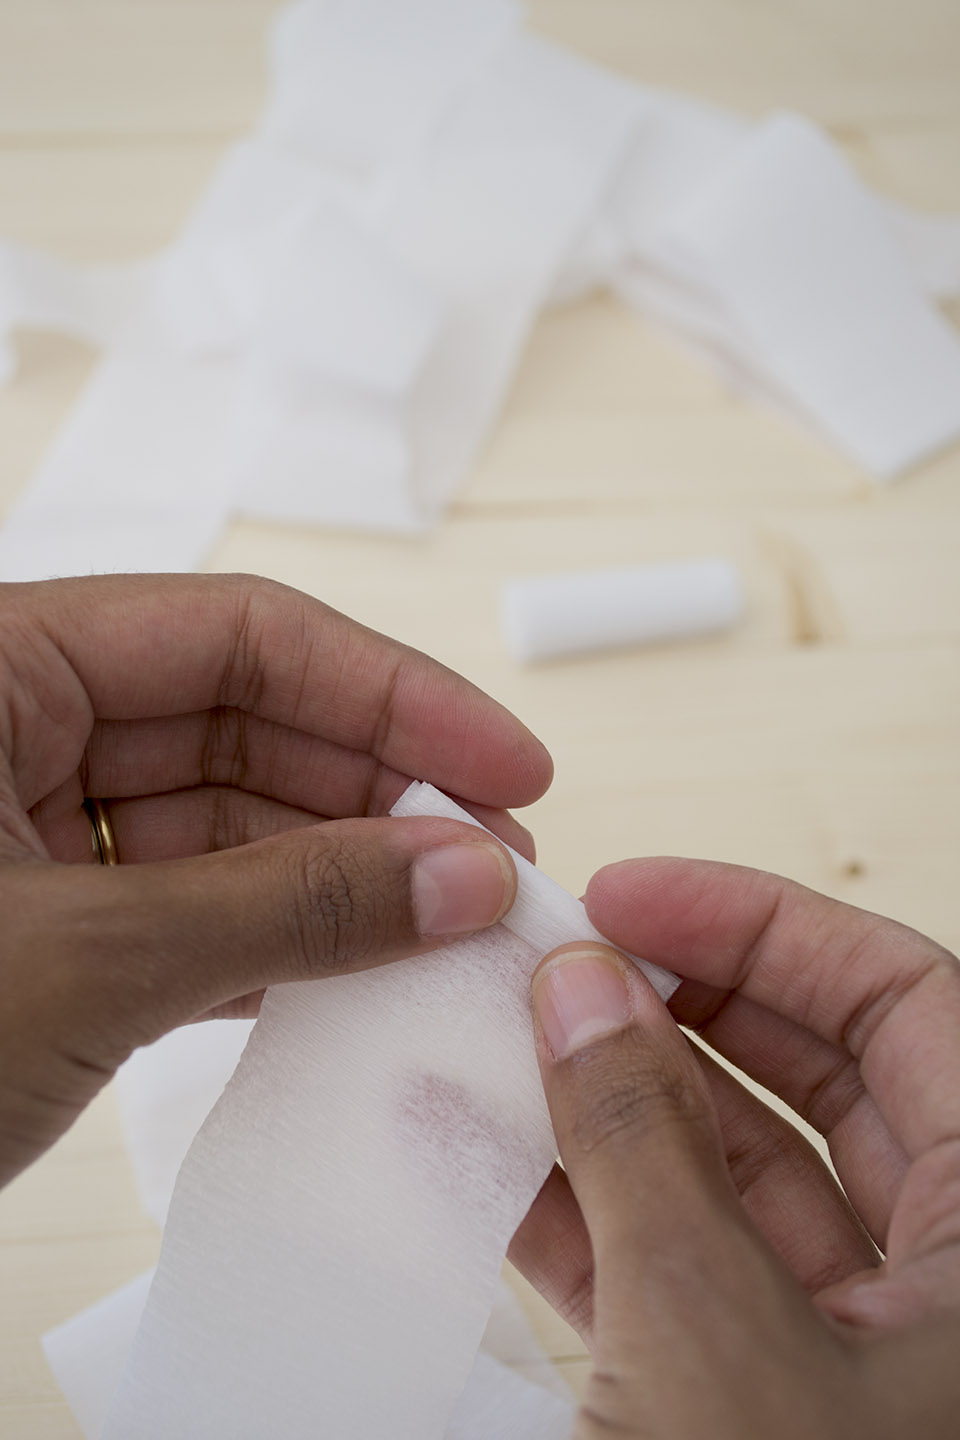
Step One:
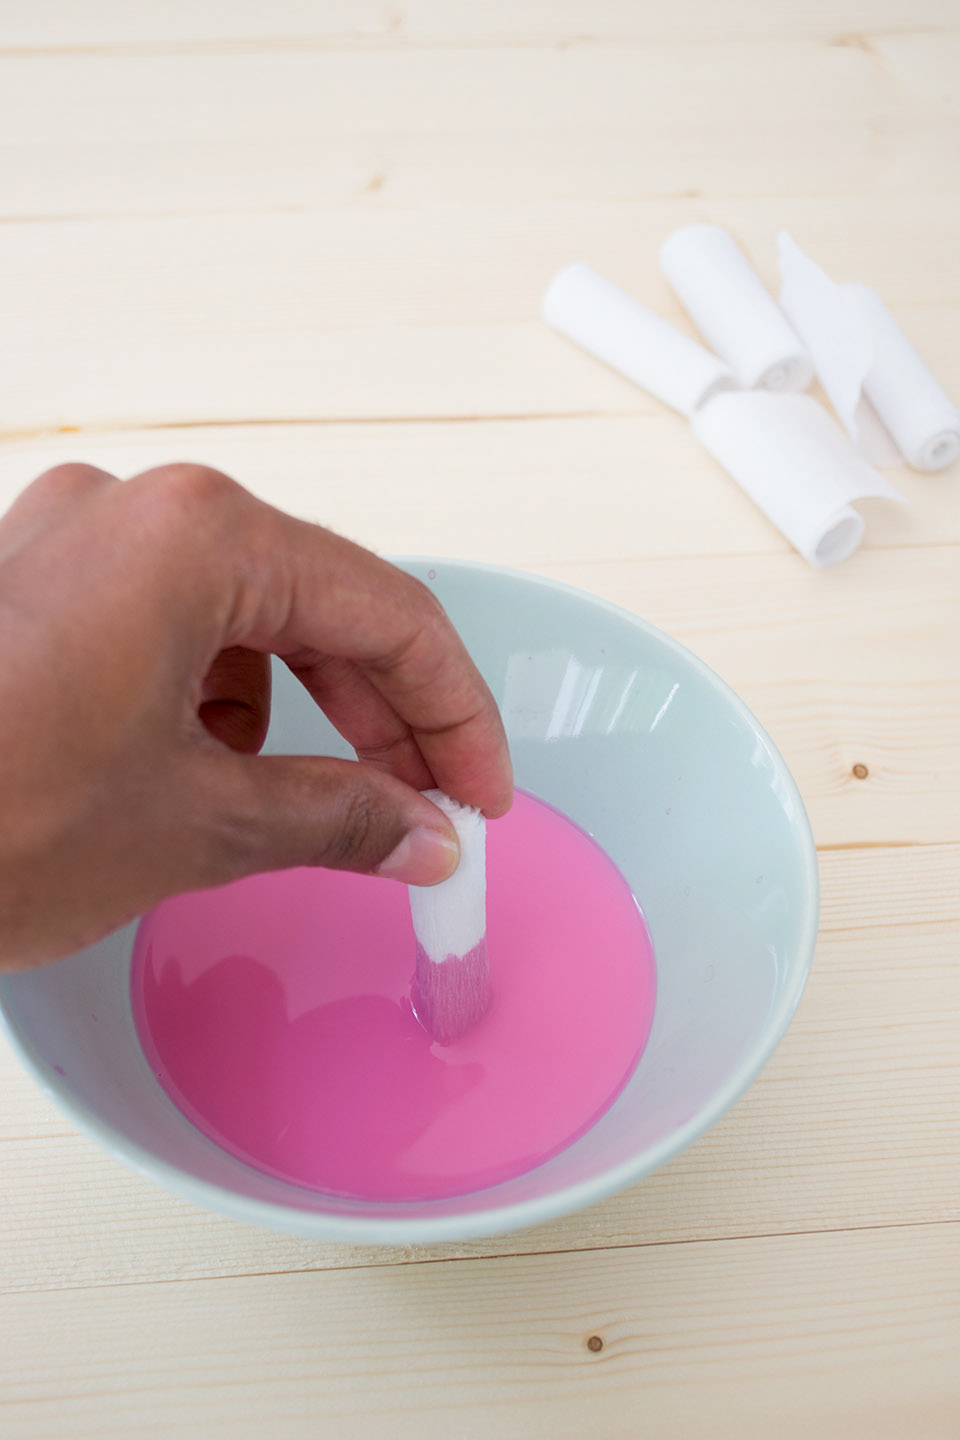
Roll up the strips of paper into little cigars.
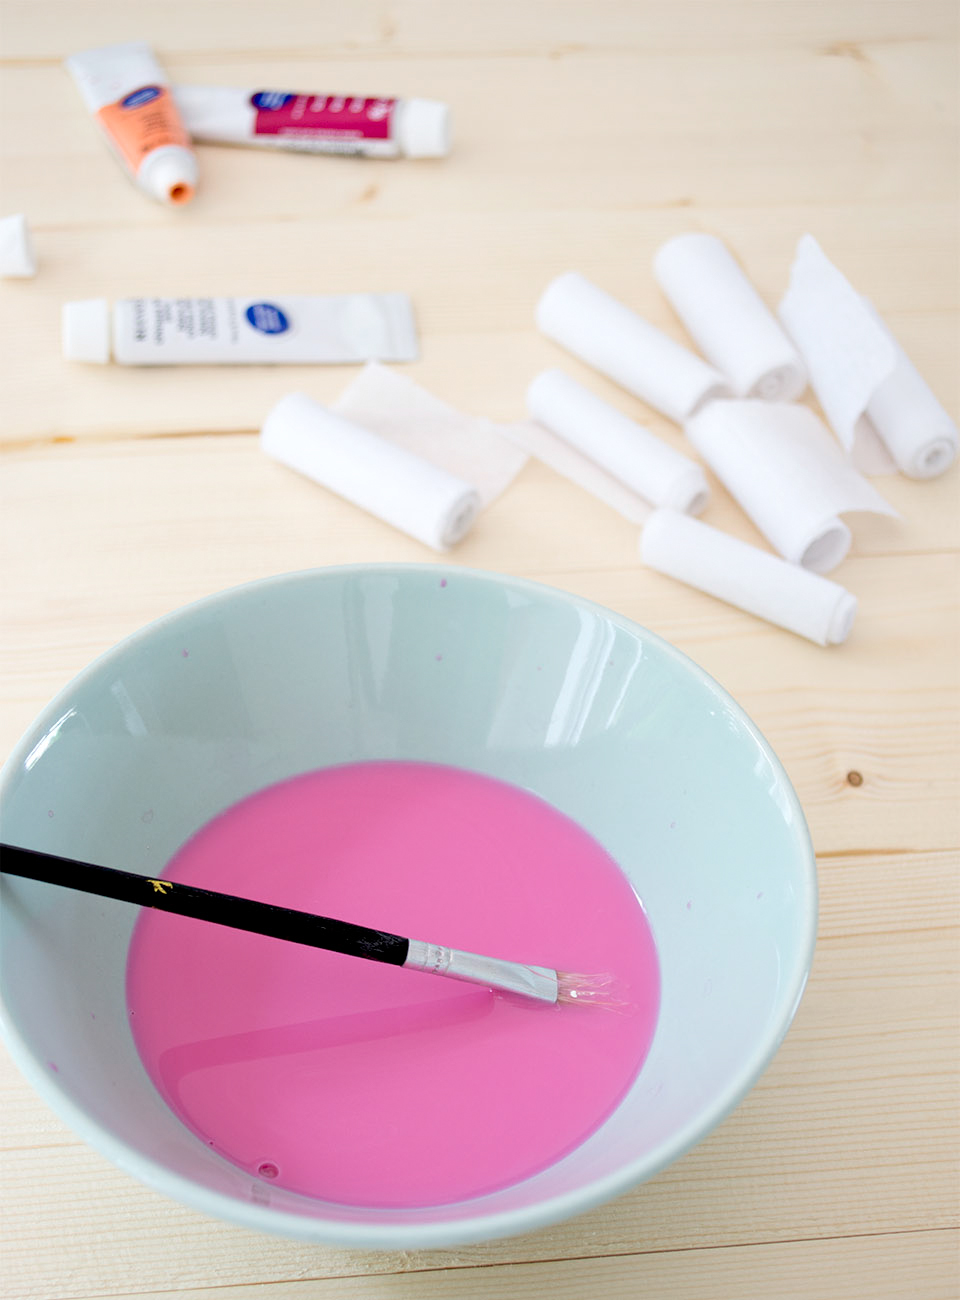
Step Two:
Mix your paint.
Step Three:
Dip one edge into the paint quickly so as not to soak it.
Step Four:
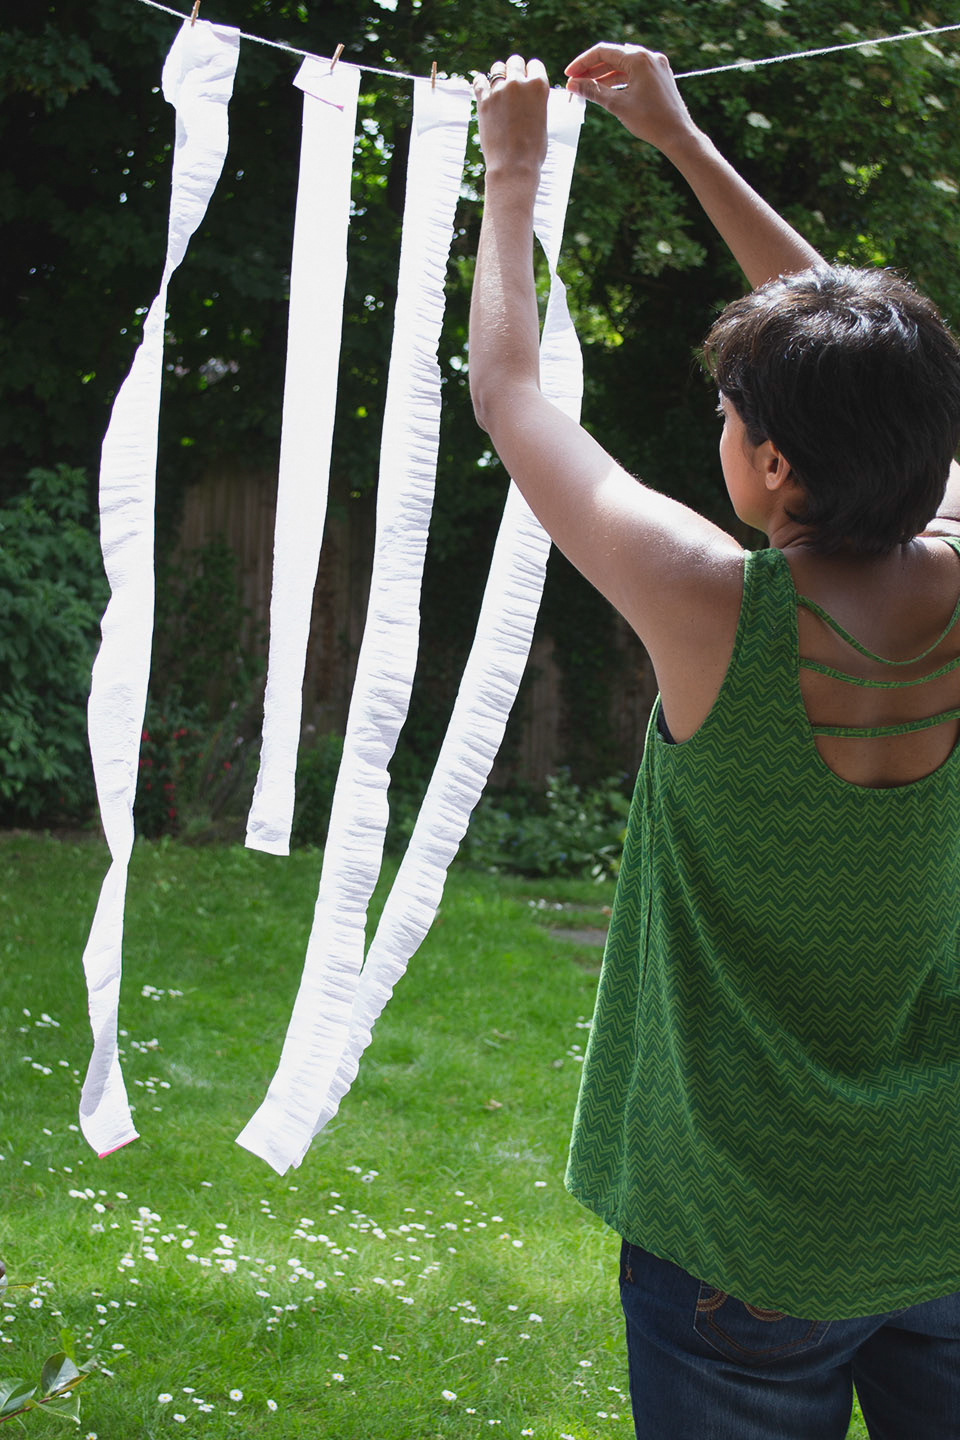
Unravel the roll and hang out to dry. Make sure you do this outside or somewhere any excess paint can drip.
Step Five:
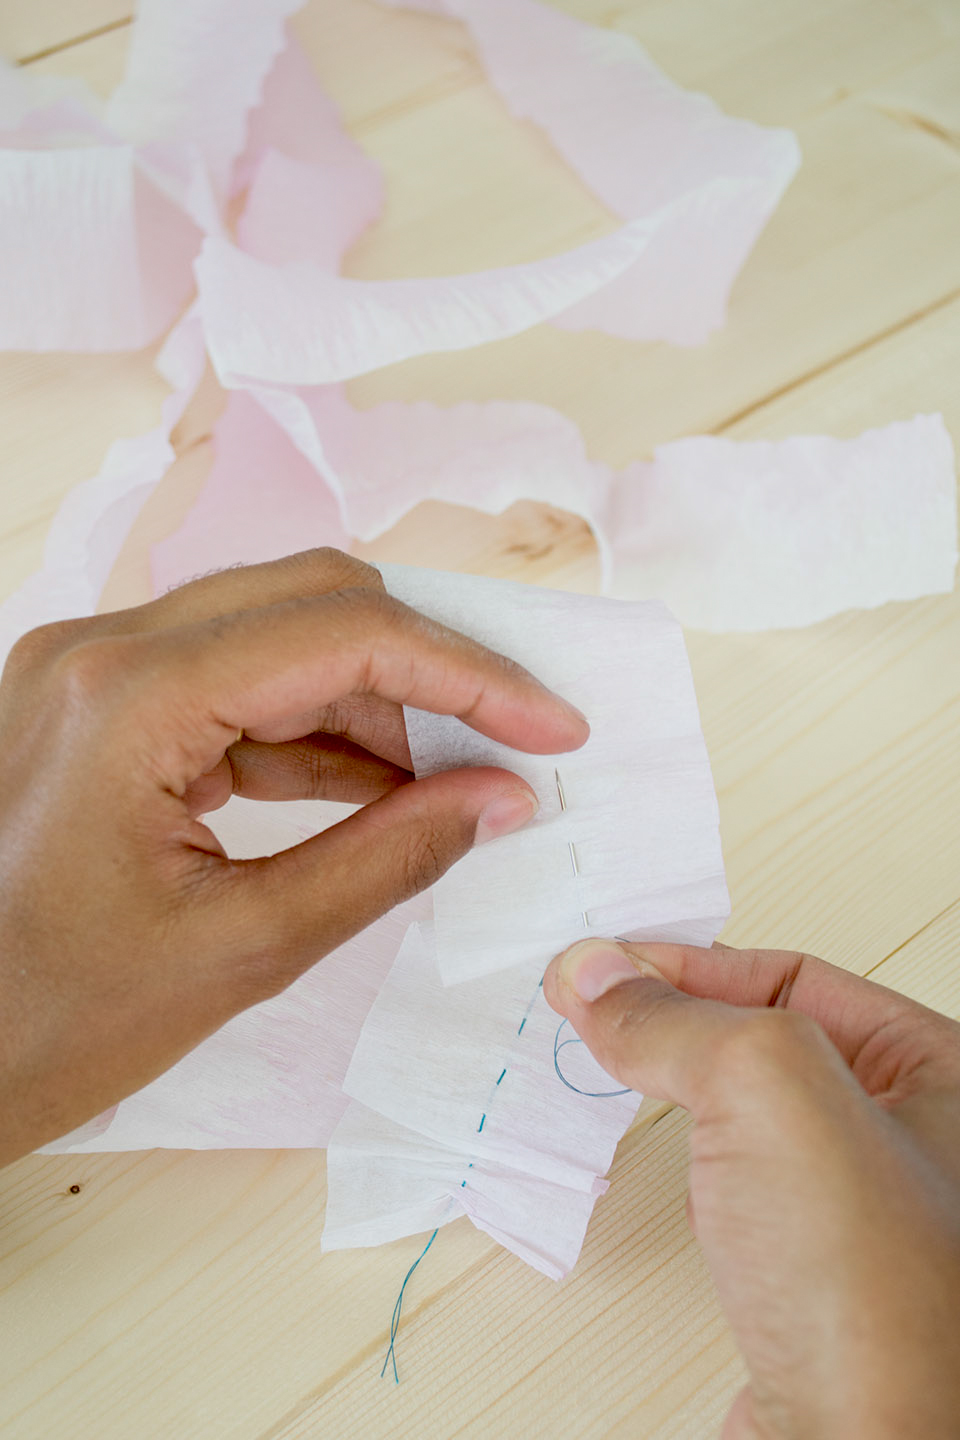
Cut off a piece of thread about 1m long, thread up your needle, double it up and knot it off. Once the paper is dry, sew a basic running stitch down the centre. If your thread is too long, it may try and knot so be careful to stitch slowly.
Step Six:
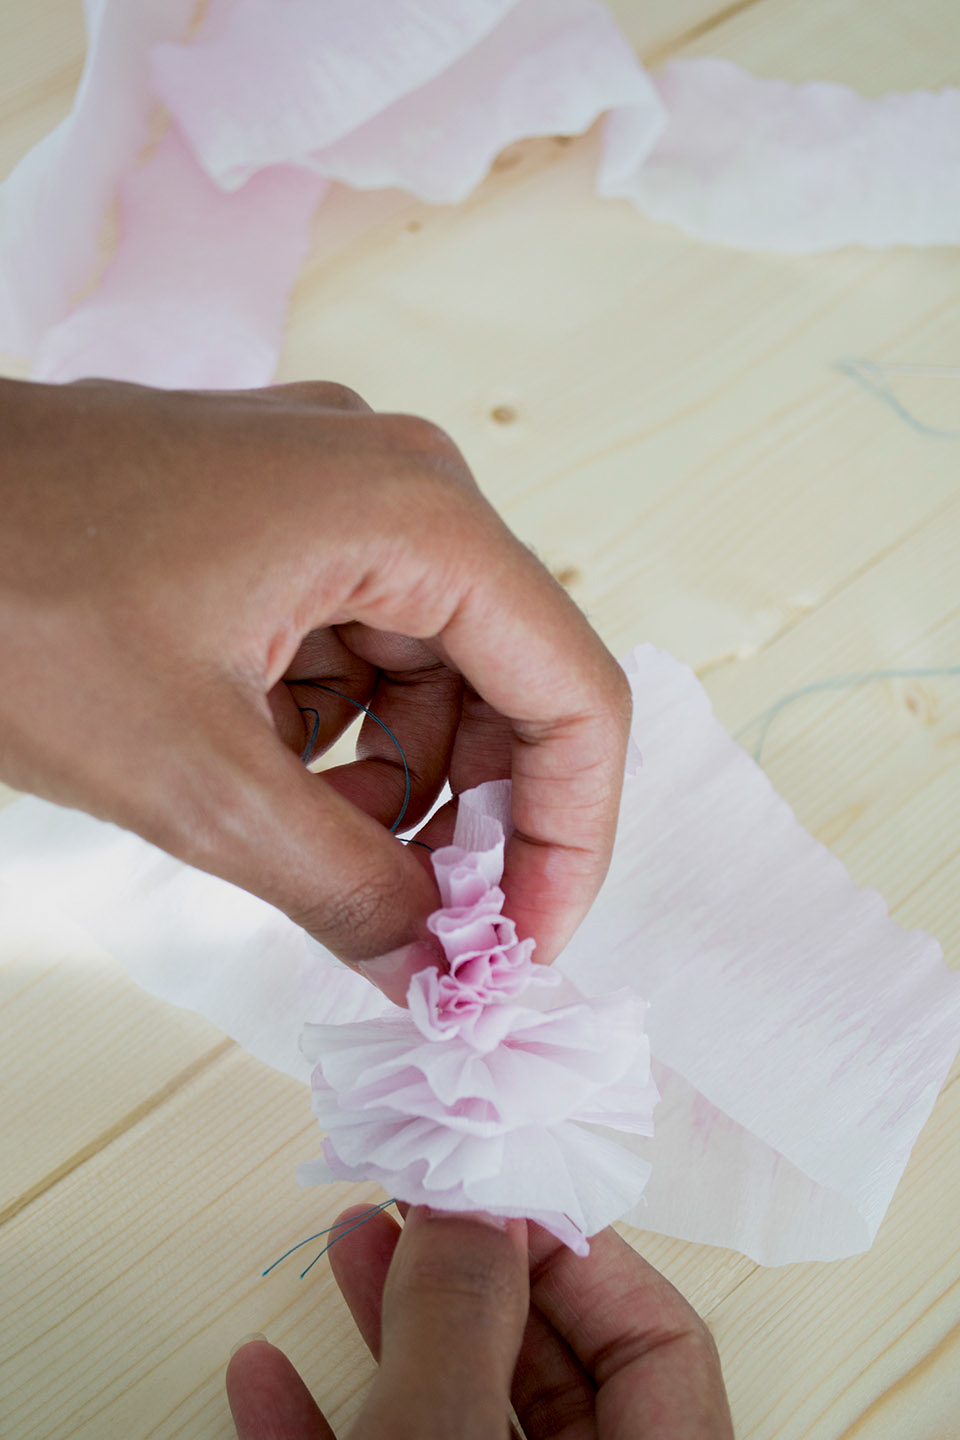
Stop every inch or so, gently pull down the paper to gather, hold in place, then twist the gathered paper clockwise. Continue until you run out of paper. Before you run out of thread, stitch through the top of the paper a few times and knot it off. To continue the garland, get a length of thread ready and stitch through a few layers of the paper. Repeat step five and six until you have the desired length.
Step Seven:
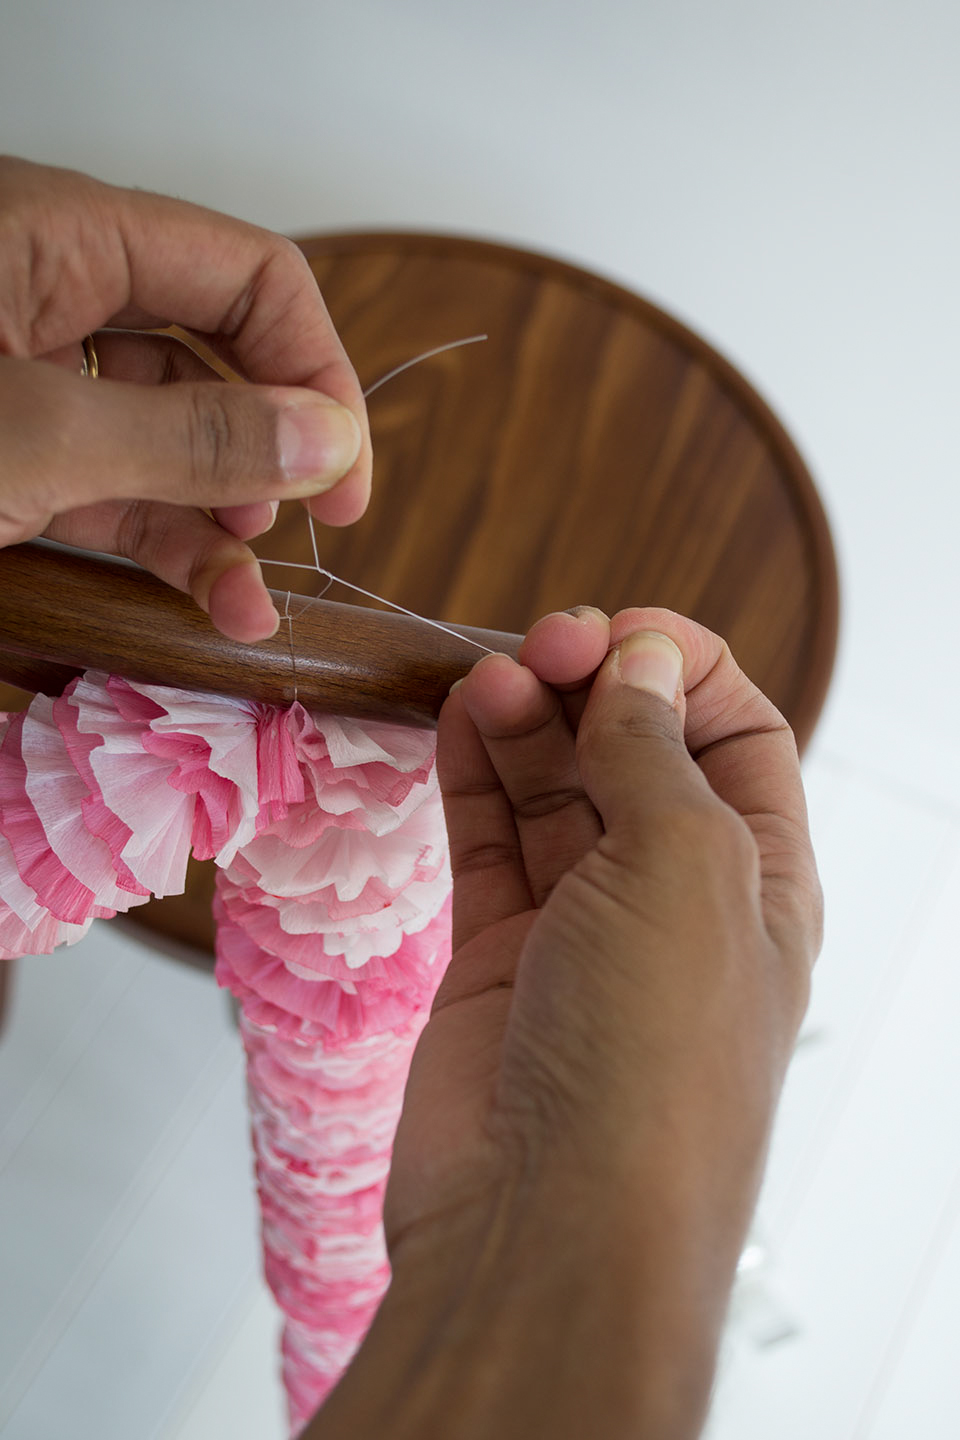
Attach your garlands onto either side of your chair with clear jewellery wire. If you find the garlands want to slip, use a small piece of Sellotape at the front of the chair to hold them in place.
Pretty, yes? So much better than ill-fitting, mis-shaped traditional chair covers.
Do let me know how you get on! And let me know if you might have any questions too. You can get your creative on with more DIY tutorials here on Love My Dress.
Tiffany x
Tiffany Grant-Riley of Curate & Display is one of our resident DIY Tutorial experts. You can read more about Tiffany on our ‘About Page‘.
Follow Love My Dress® on Google+
Images Copyright (c) Tiffany Grant Riley

