It has been a while since our contributor Erin Hung of the award winning Berinmade shared one of her wonderful little tutorial features so I’m really delighted to be sharing this piece with you today. Basically, any blog post that involves ‘glitter’ is my favourite. I’m easily pleased, but really, I am hoping you rather like this sweet little idea to pretty up your wedding reception with a touch of sparkle.
Do let us know if you might be attempting this crafty project – we’d really love to see the results! Share on social media using the hashtag #glittergemplace.
Over to you Erin…
Photography Copyright (c) 2014, Lucy Davenport
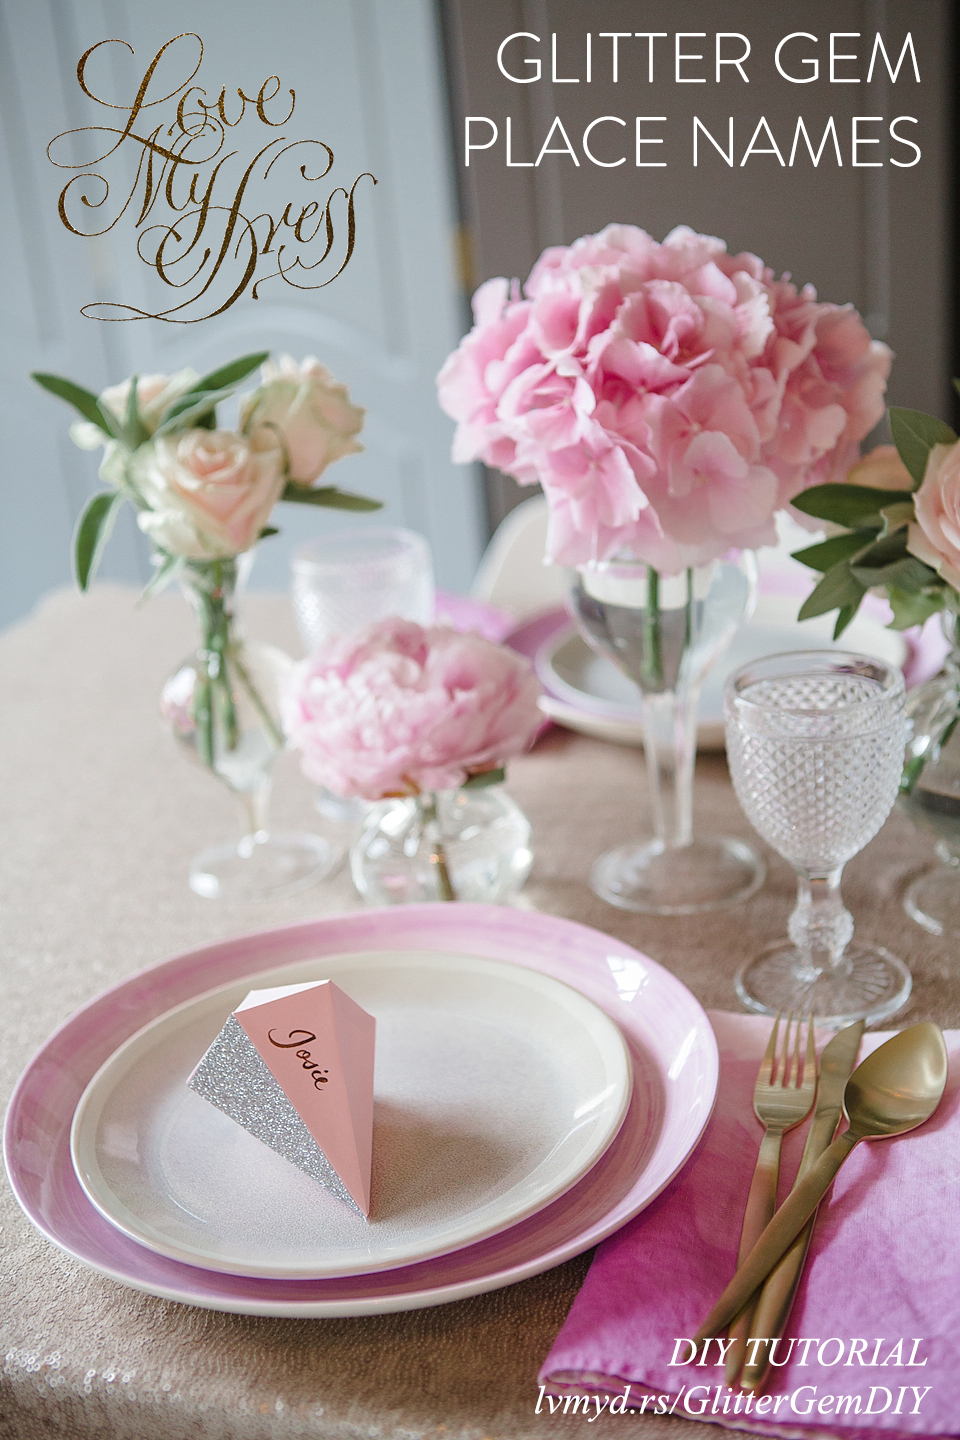
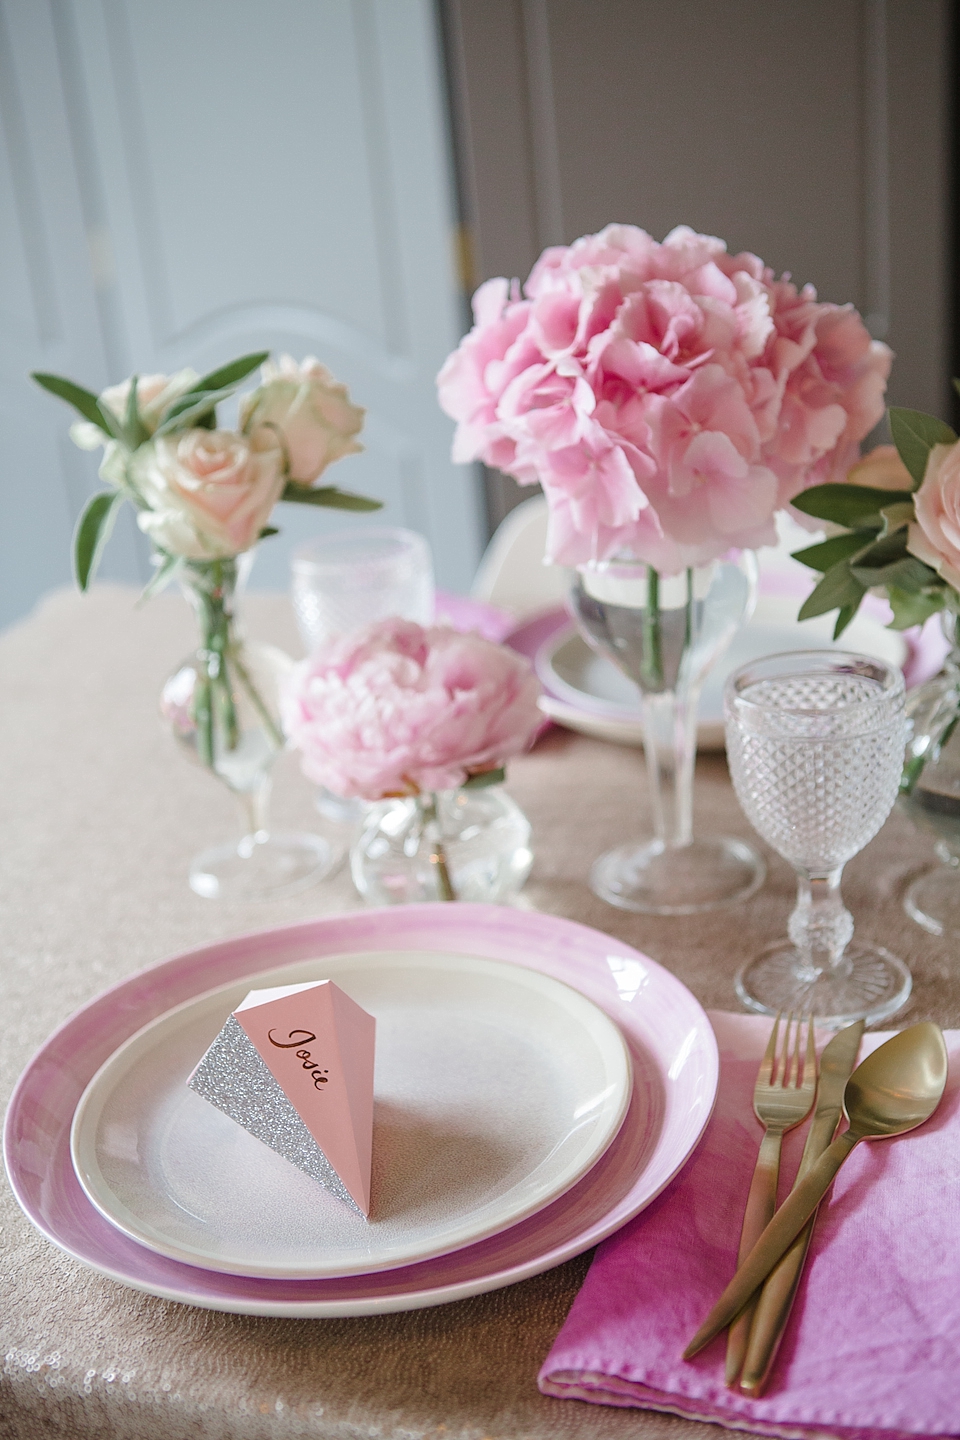
I’m so in love with all the geometric patterns going around right now, and instead of taking inspiration from shapes, I thought it would be really fun to base some place names on the idea of gems. For those who love something extra sparkly and girly, this tutorial is for you. And what better way to make your guest feel special than to have their names written on their very own gem stone?
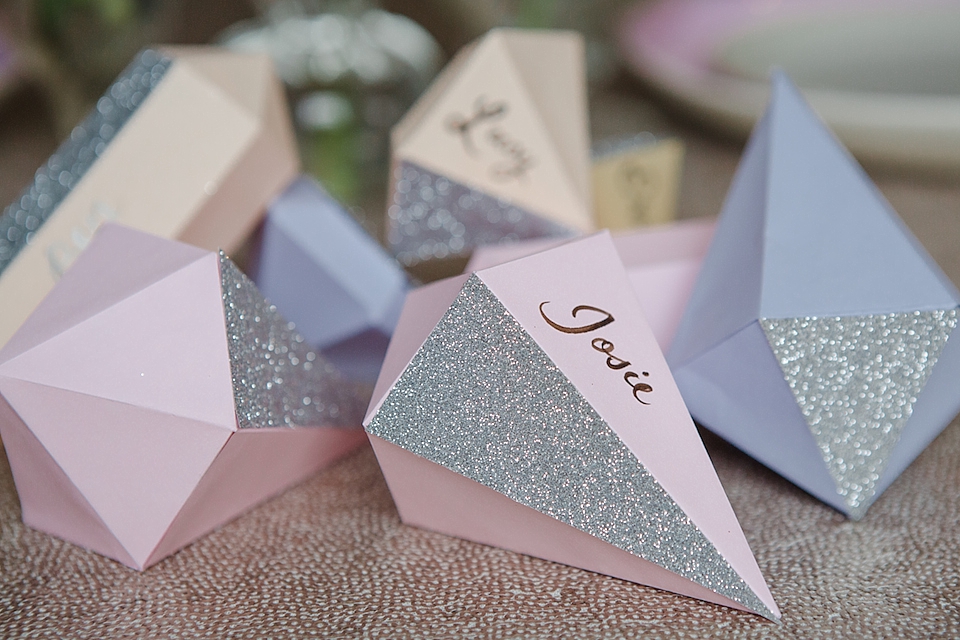
Step 1:
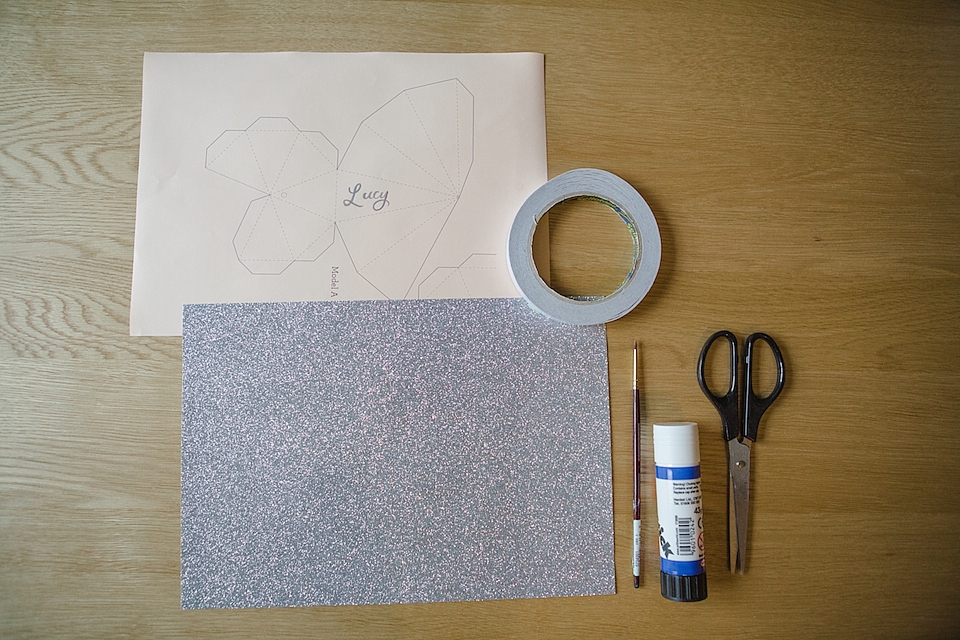
Collect your materials—
- Downloadable template printed on pastel paper
- Double-sided tape
- Glue Stick
- Scissors
- Glitter Paper
- Pen/paint brush and paint (for writing on the names)
I came across these downloadable templates of different gems online and had a totally ‘a-ha!’ moment. Only a few of these are really suitable for this tutorial (the ones with large faces), and I would really recommend enlarging these so that the finished product is bigger. I did so by cropping into one of the template pieces and printing it to fill the page.
I bought a pack of different pastel coloured papers to print onto (make sure that they are laser or ink jet printer compatible, whichever you have at home). I also opted for silver glitter paper but I think gold would work really well too depending on what else you plan to have on your table. Onward!
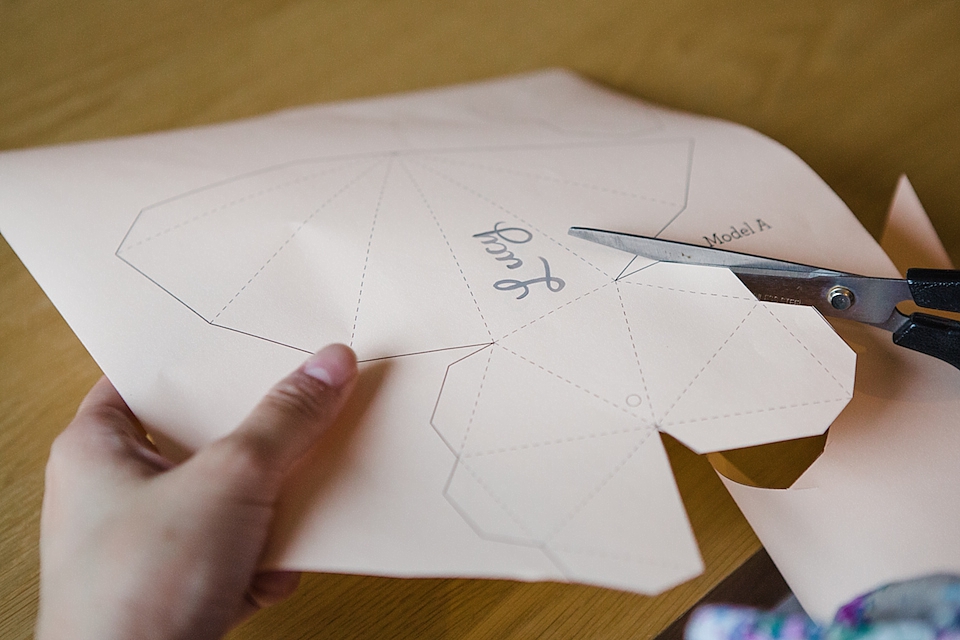
Step 2:
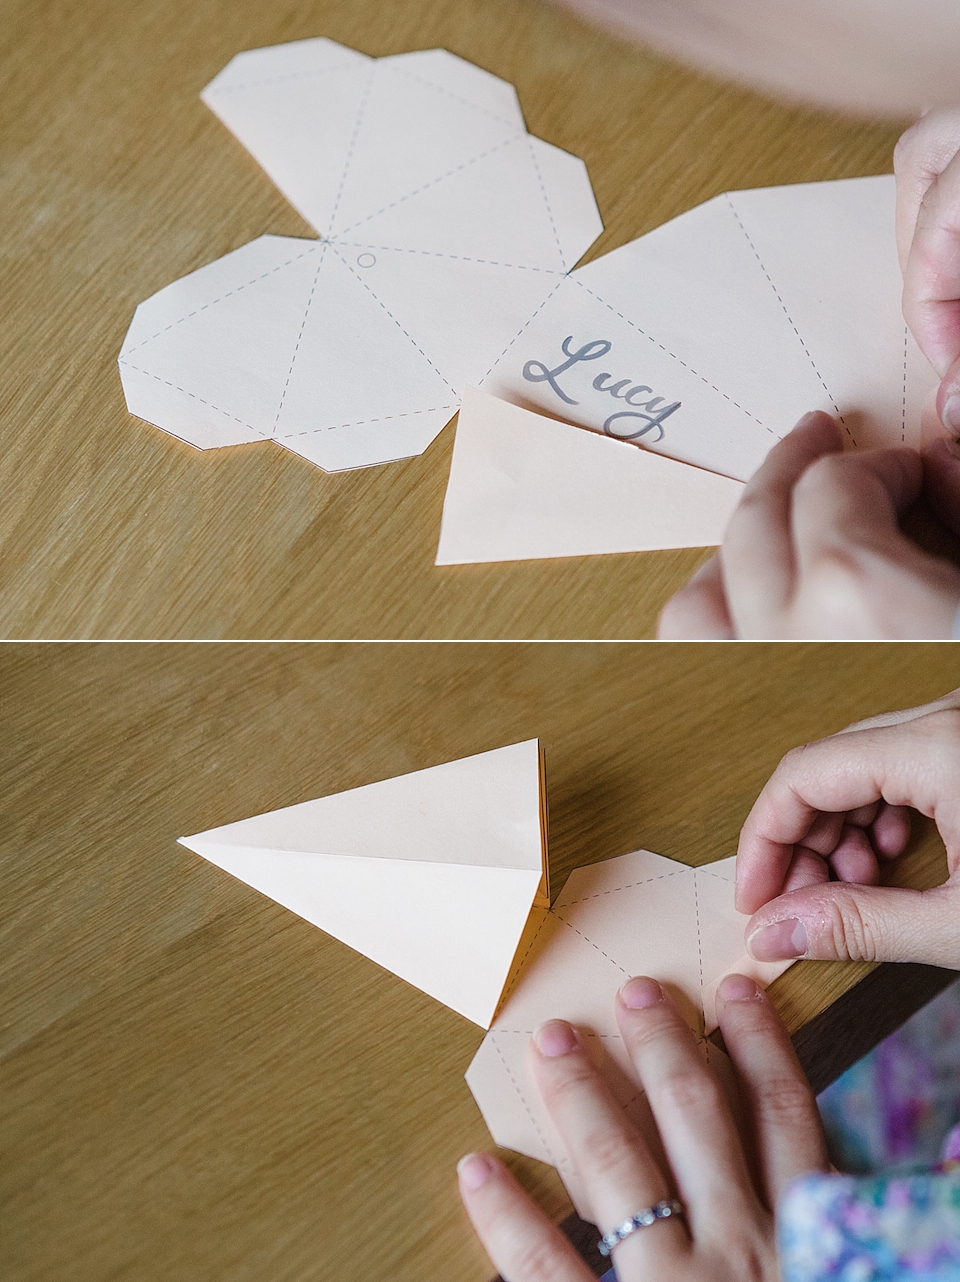
Cut out the template along the solid lines.
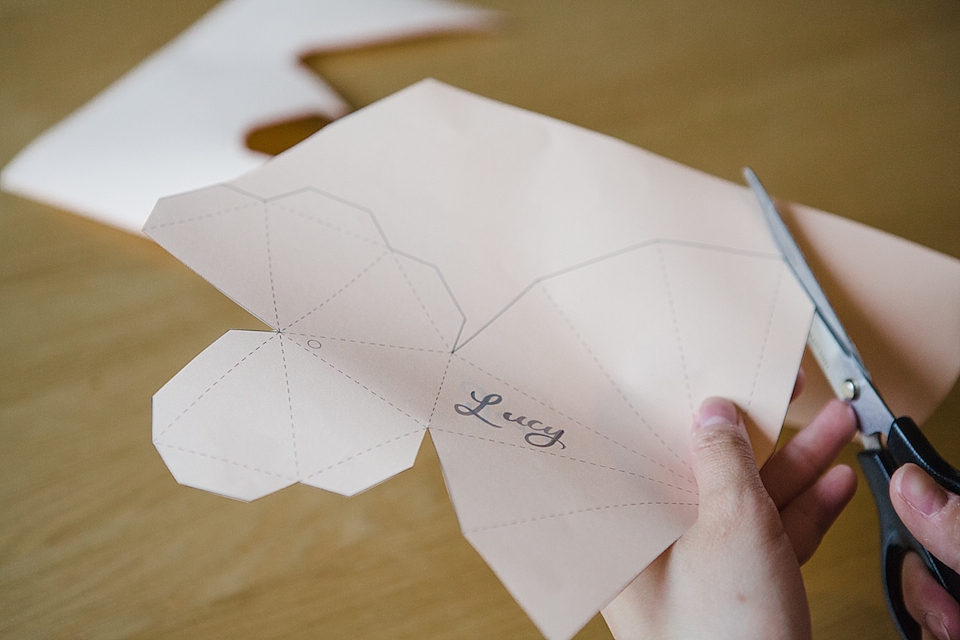
Step 3:
Fold along all the dotted lines on the inside and write the name of your guest on one of the faces.
Step 4:
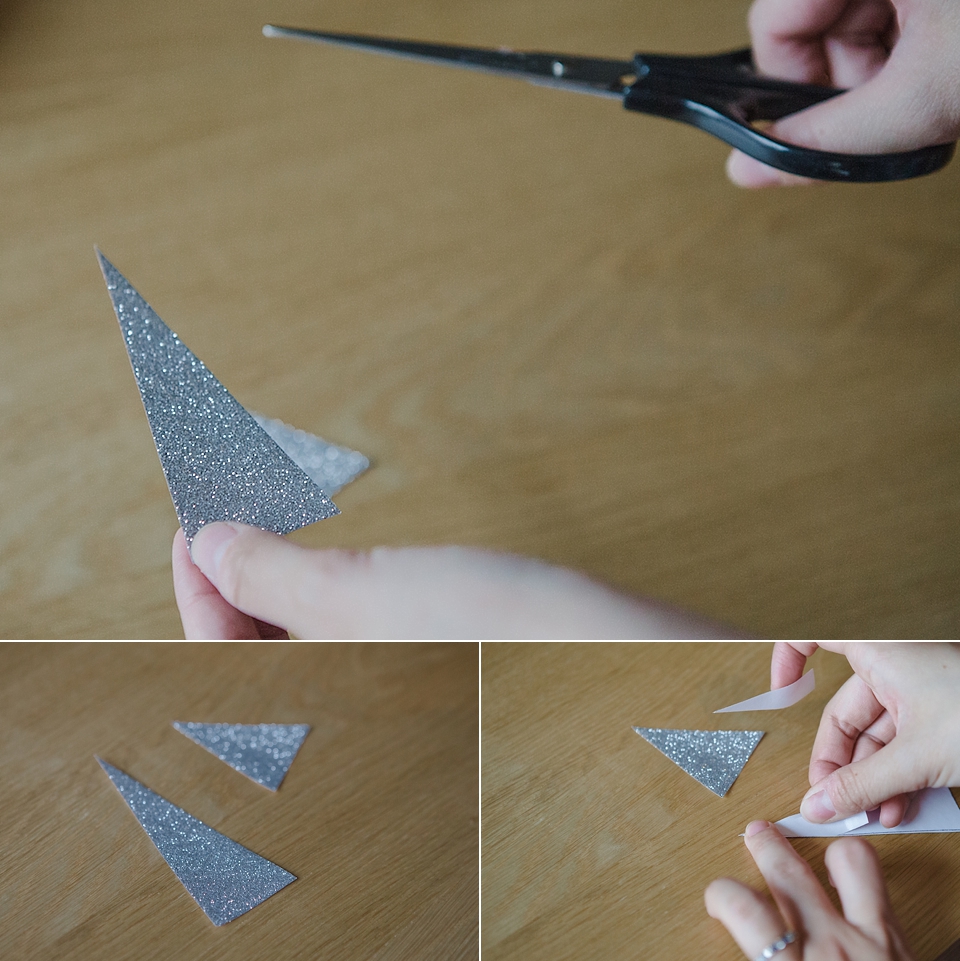
Measure and cut out the shape of a side of the gem on glitter paper and stick onto one of the segments with double-sided tape.
Step 5:
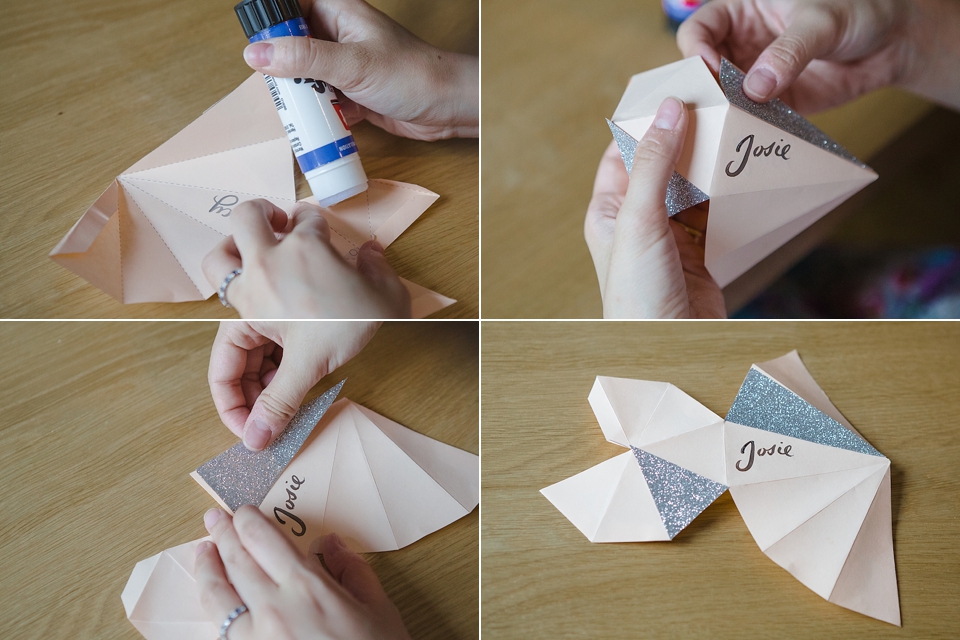
Assemble the gem and glue along all the tabs.
Ta da!
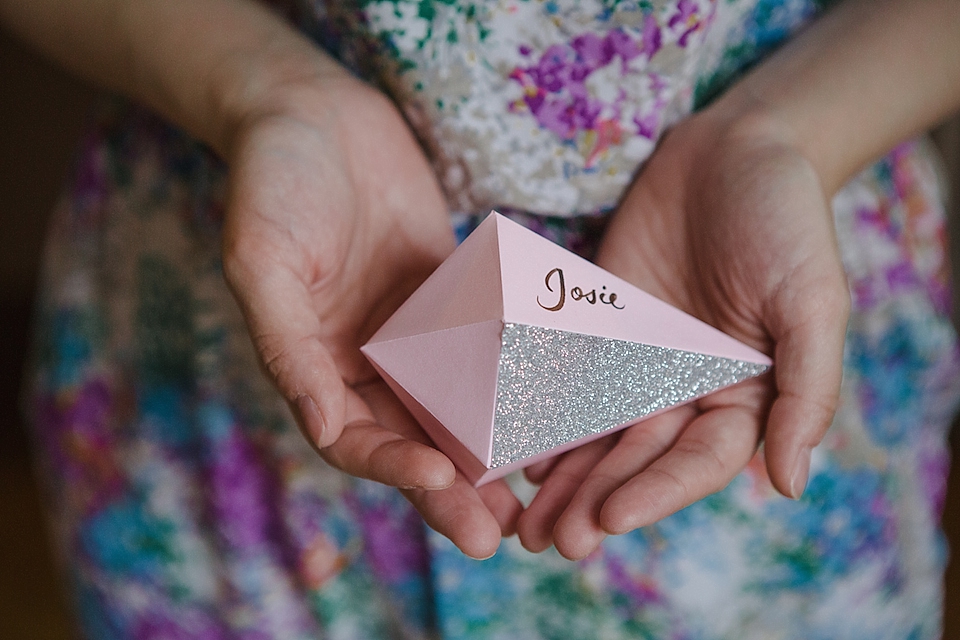
I hope you have fun attempting this tutorial – remember you can share your efforts on your preferred social media channel by using the hashtag #glittergemplace.
Have a lovely lunch time,
Erin xx
Photography – Lucy Davenport
Tutorial – Berinmade for Love My Dress
(Adapted from a tutorial by minieco.co.uk)
Flowers – Melissa Riva
Styling – Josie Mills at Courage and Dash
Erin Hung is the founder of Berinmade, an award winning illustrated paper goods company. Erin shares her fun and easy DIY tutorials on a regular basis with Love My Dress and is a member of our contributing team. You can read more about Erin and Berinmade on our About Page. Berinmade can also be found on Instagram, Twitter and Facebook.
Follow Love My Dress on Google+


These are absolutely stunning! Love your choice of glitter and pastel shades too. x
I’m not usually keen on glitter but these are actually very sweet! http://madelienerose.com/
This is a sweet, subtle touch of glitter. A much cleaner process than I was expecting, too!
Wow, this is a very nice approach 🙂