Good Monday morning my lovely and loyal readers – and welcome to new followers too 🙂
Usually, I'd open up the week with a beautiful wedding, but you're going to have to wait until this afternoon for the nuptials today, because this morning, I'm going to do things a little differently, for I am in the mood for a little 'DIY Bride' style'. And when it comes to DIY Wedding Flowers, the delectable Miss Pickering {Florist Extraordinaire} is one of the BEST in the business.
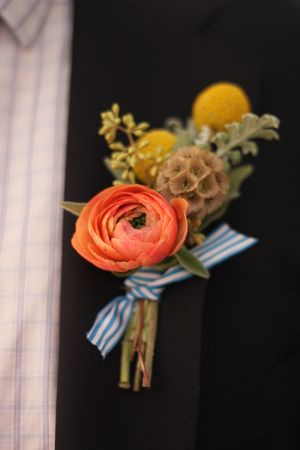
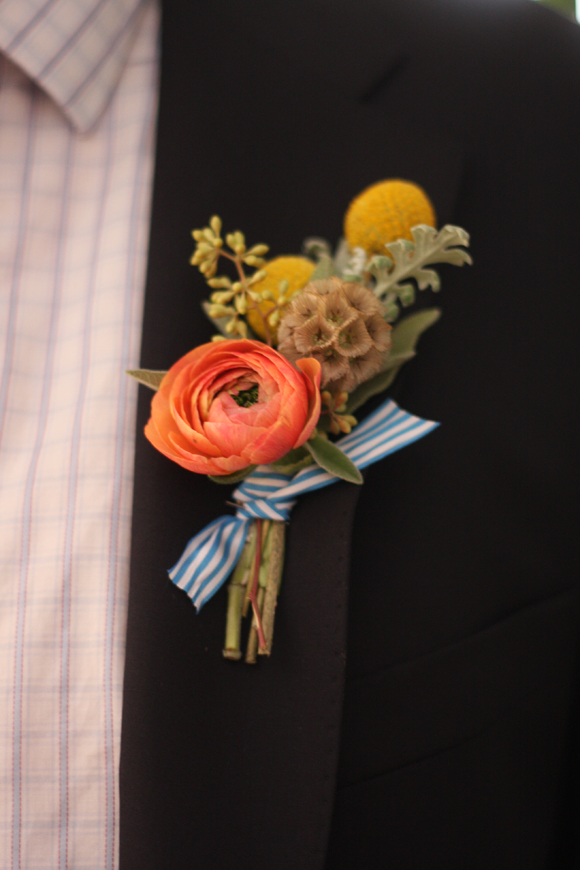
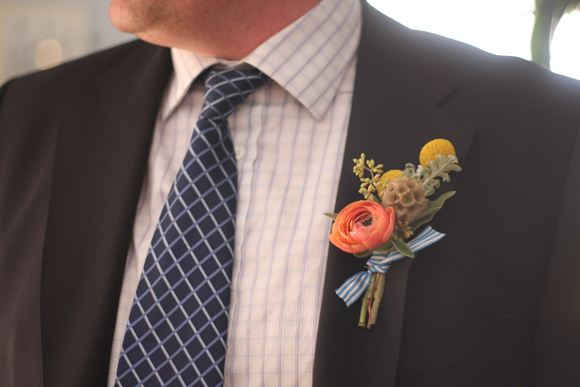
Miss Pickering is going to tell us how to make Buttonholes like you see on Wedding Blogs. You know, the ones the beautiful and creative wedded couples over at the likes of Style Me Pretty and Ruffled Blog have?
This is one to print off and keep safe in your wedding inspiration folder. And so, without further ado, it's over to you Miss Pickering …
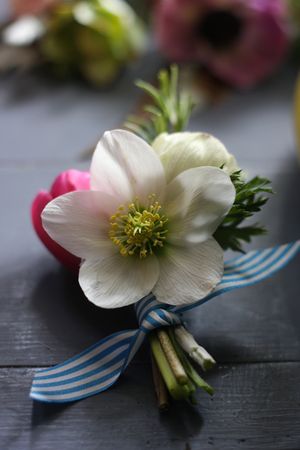
"These Buttonholes are the laissez faire eclectic ones. The ones with the right colours and striped ribbon. The ones they make in America.
These are so easy to make, and like I say about all elements of floristry. If you start with beautiful flowers and foliage, you can't go wrong...
Love My Dress Wedding Blog – Photography Copyright (c) 2011, Miss Pickering
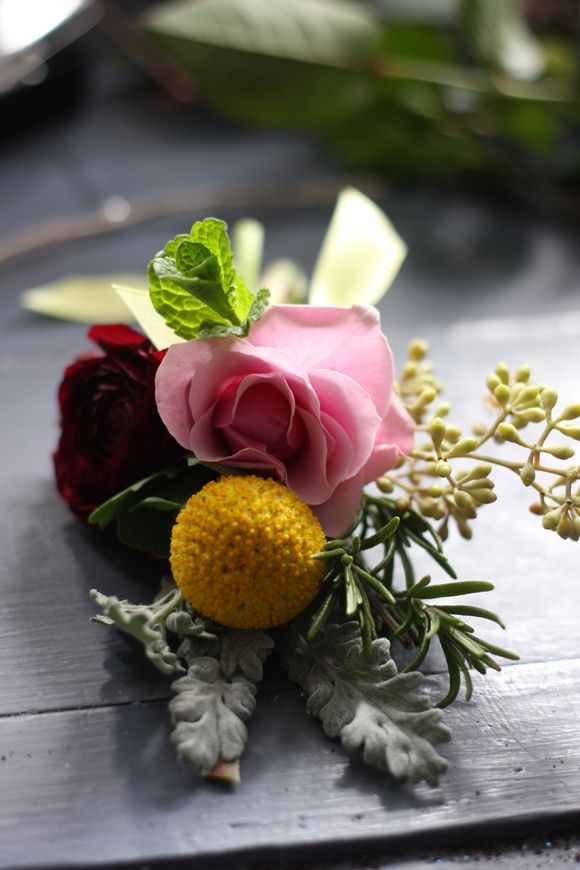
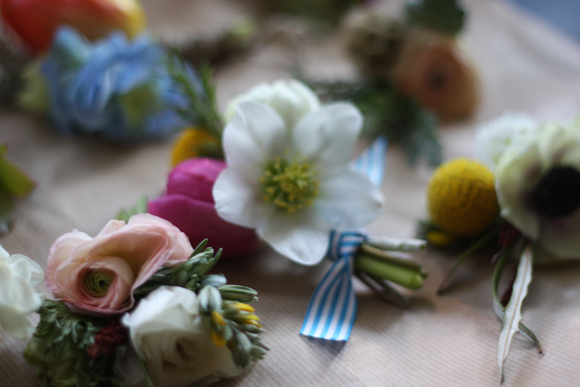
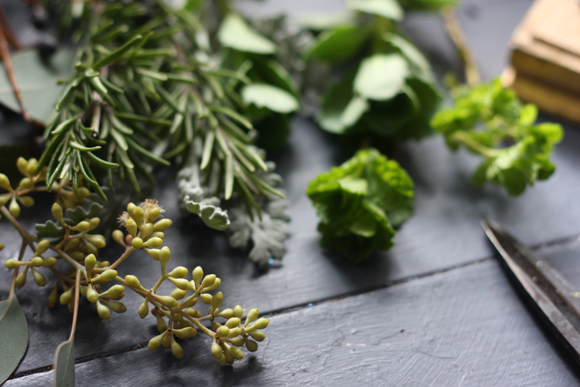
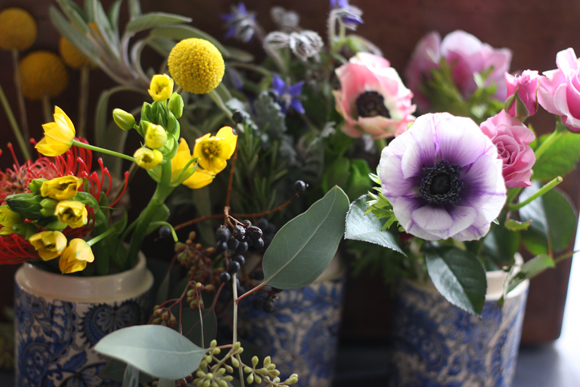
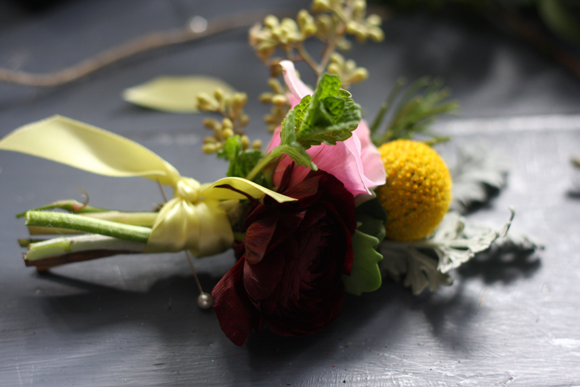
(1) This is the time to plunder the garden foliage, sprigs of mint, rosemary, sage, seed heads, and berried foliage. These buttonholes need texture to work, your 3 wired leaves of ivy have no place here…"
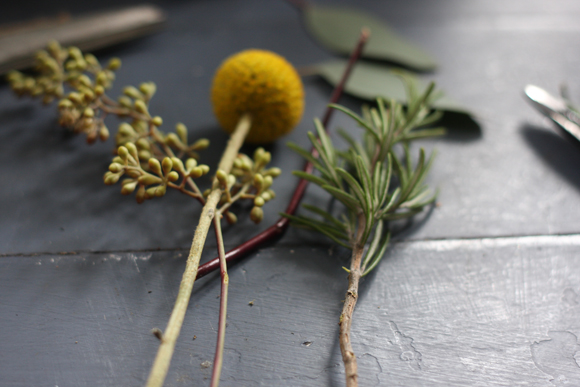
(2) Then you will need some flowers, anything you like, pretty things like a single head of spray rose, an anemone, and then mix in something a little more quirky. A scabiosa seed head, or the achingly cool crespidia – the bright yellow balls you see everywhere…
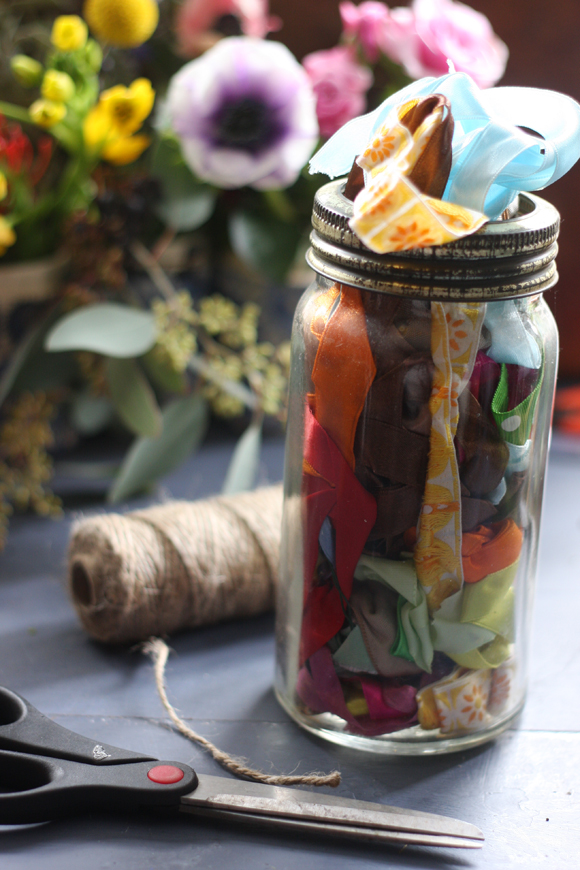
(3) you will also need your ribbon jar, some string and some nice sharp scissors for ribbon cutting, and maybe a gin and tonic…
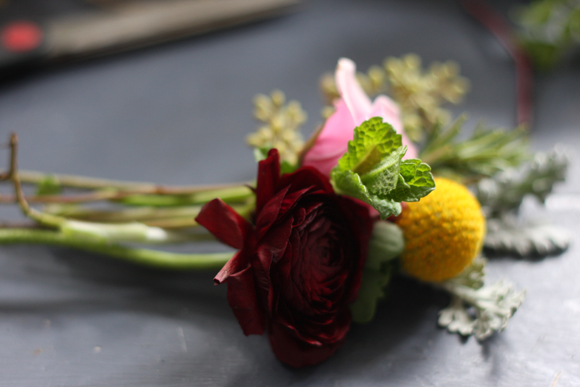
(4) Then all you have to do is lay them all together, bearing in mind that they will pinned onto a body, so keeping the back flat, and building up, at the front.
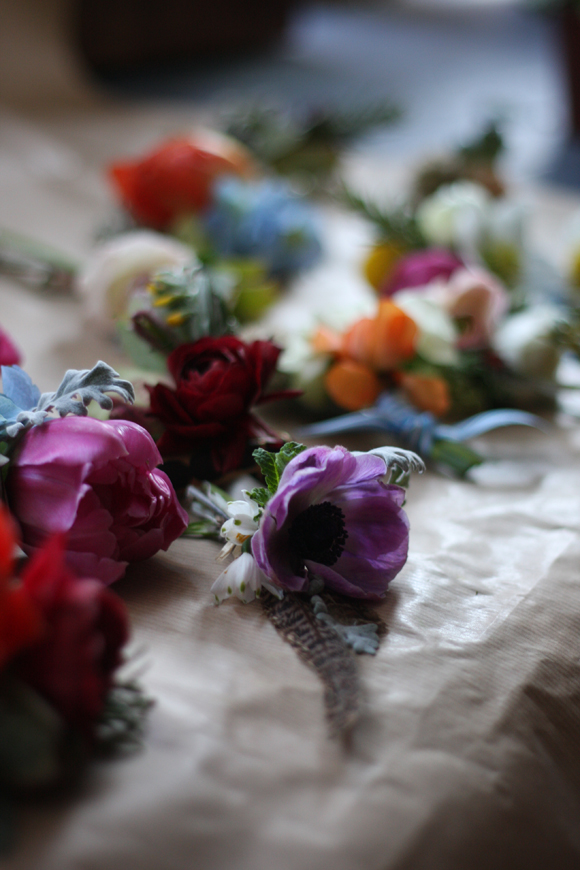
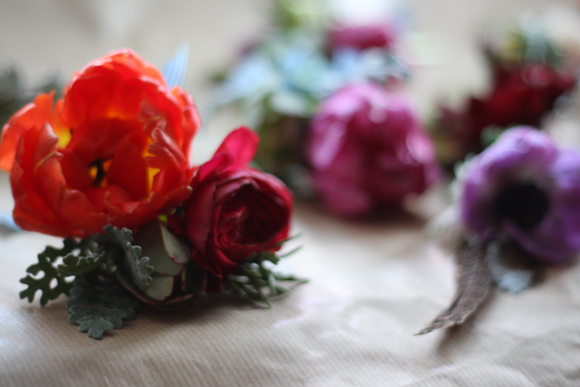
(5) Once you have achieved your design, tie with string at the very top. Not too tight that you snap any stems, but tight enough that they hold still.
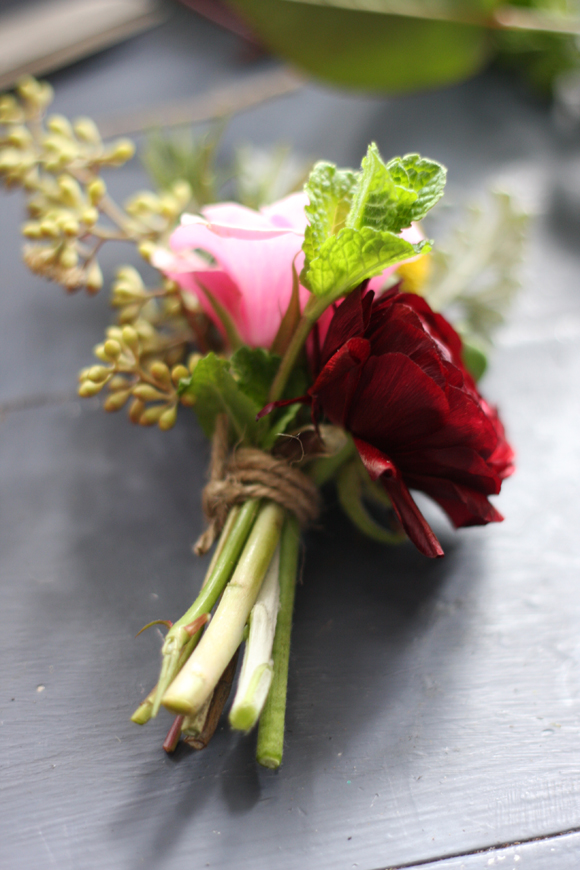
(6) I like the string, but finishing off with ribbon means you can raid your ribbon jar for the scraps. go mad, clash colours, use stripes, they can be all the same or all different.
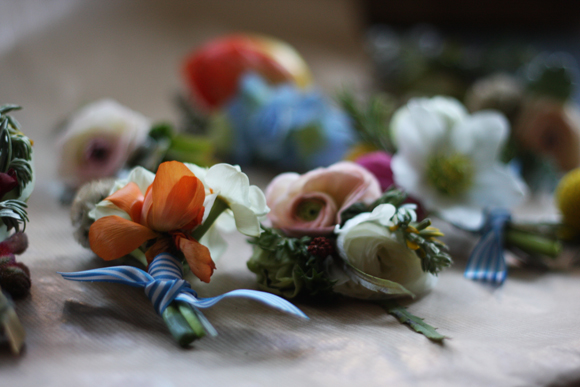
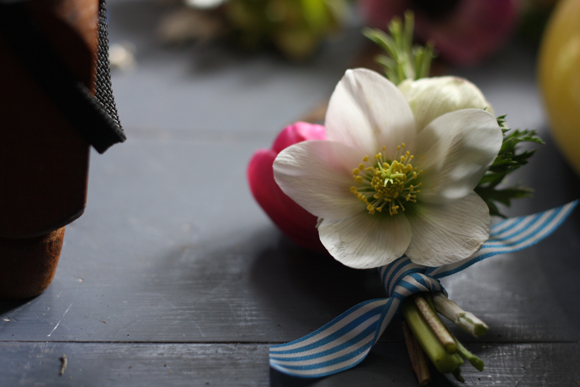
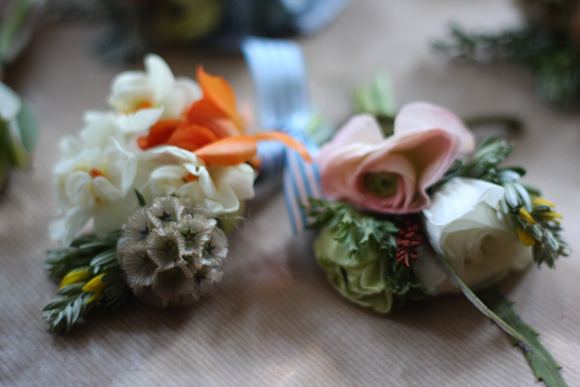
(7) The world is your oyster – repeat as required 🙂
Because they are not wired, you can make them the night before, and pop into very small vases to keep.
Do not attempt to make these on the morning of your wedding. On the morning of your wedding you must drink champagne.
That is the law.
♥ ♥ ♥
Thank you so much Miss Pickering ! What a simple way to add a beautiful, hand-made DIY element to your wedding – and save yourself some pennies in the process! 🙂
Miss Pickering runs a Flower School for Brides and I'd urge any Bride to be to consider attending – take your Bridesmaids along and have some FUN! I am attending the School myself in August with my Mummy! Expect a pretty floral blog feature thereafter :) For further information, email Miss Pickering on [email protected], or visit the Miss Pickering Flower Emporium website. Please note that Miss Pickering is closed on a Monday, but all emails and voicemail messages will be responded to from tomorrow 🙂
Click here to read my interview with Miss Pickering.
Want to see more DIY features on Love My Dress? 🙂
Much love all 🙂
Annabel xXx
♥

