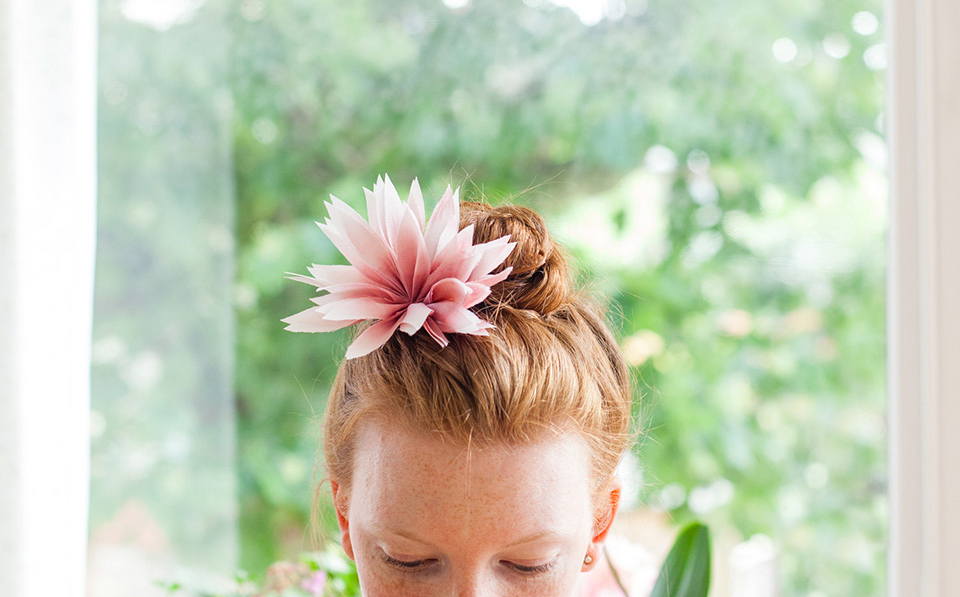
As I was browsing through the very lovely Instagram feed of our sponsor and accessory designer Johanna of Blackbird’s Pearl, this pretty picture of a floral headpiece shaped like a Dahlia really grabbed my attention. Johanna, who we introduced you too last month, has a bit of a talent for crafting the most beautiful headpieces which you can buy from here. We thought it would be a little fun to share a sweet little DIY tutorial with you all however – a little crafting project for the weekend perhaps! Enjoy folks 🙂
. . . . . . . . . . . . . . . . . . . . . . . . . . . . . . . . . . . . . . . . . . . . . . . . . .
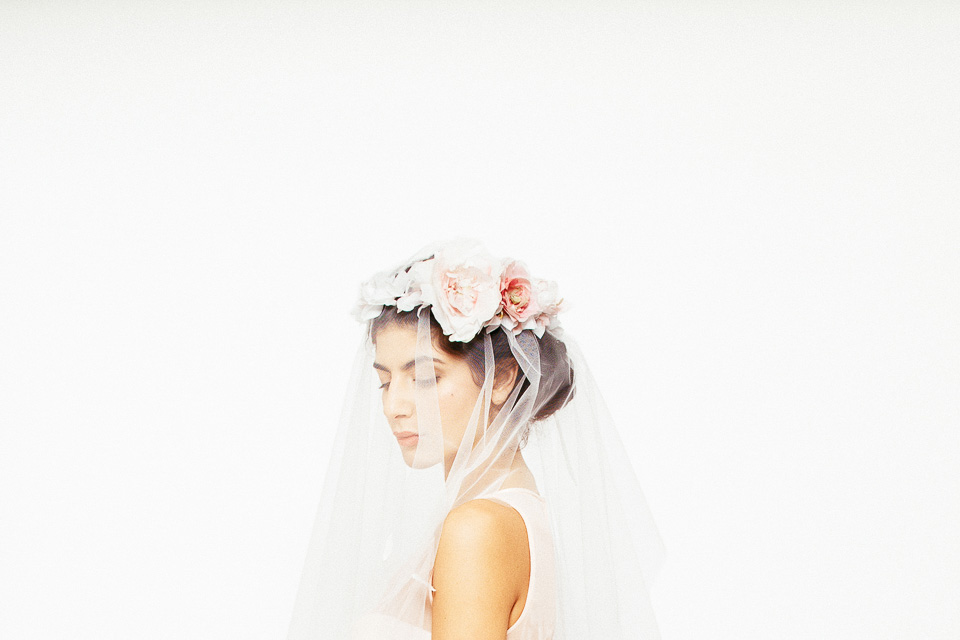
Making the silk flowers I use for my bridal headpieces is a long process of many different steps. Stiffening silk, making a pattern for the different sized petals, cutting out many, many petals, dying and painting them individually with a special dye or watercolour mix before bringing it all together.
But if you’re after something pretty and effective that you can do in relatively little time and without having to learn any new skills, why not try these?
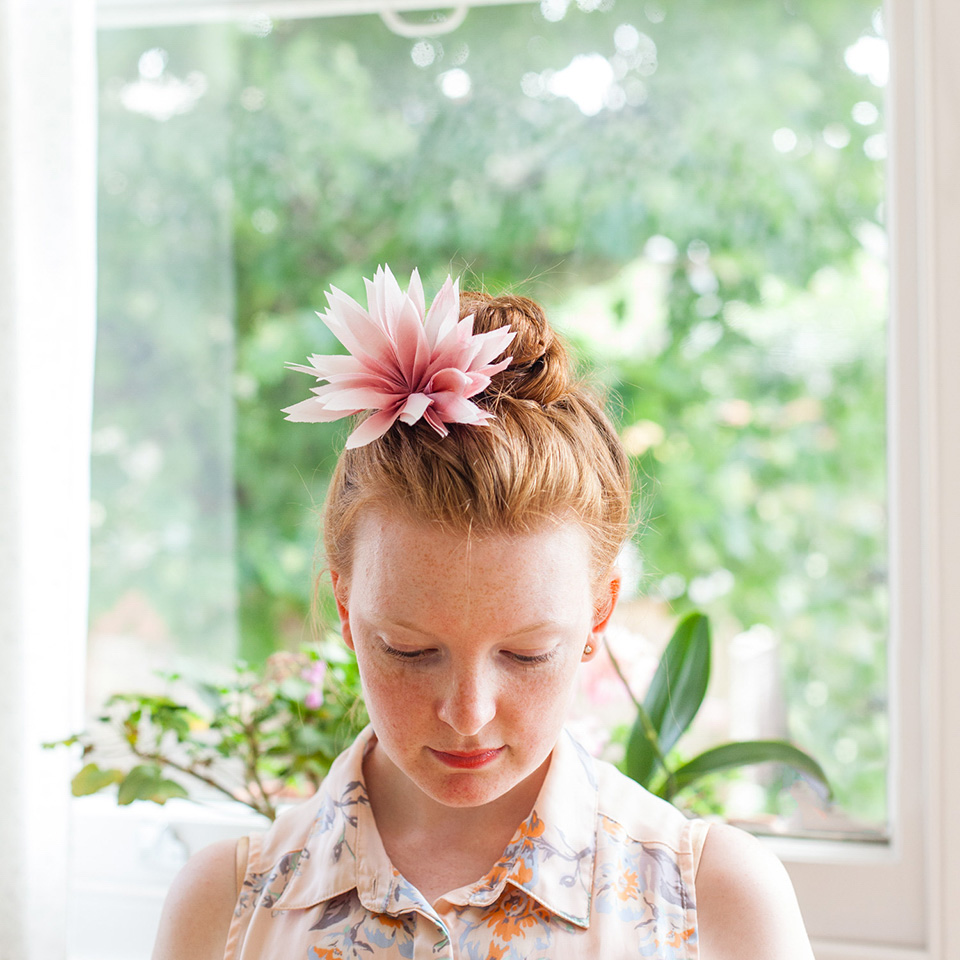
Use them to decorate your ceremony or reception space, wear them in your hair, give them to your bridesmaids – or make lots of small ones and make yourself a flower crown!
You can of course use any colours you like, you could use a pre-dyed fabric, you can change the shape and size, but here’s the basic principle.
You will need:
- Fabric (for mine I used a strip 14cm wide and 50cm long)
- I used dupion silk, but you could also use cotton or any other natural fibre that will take the paint)
- scissors
- needle and thread
- paper
- paintbrush
- acrylic paint mixed to the desired shade and dilluted with water
- If you are using a very soft fabric such as habotai silk or would like a fairly stiff flower such as the ones I made, spray the fabric with fabric stiffener before painting it (such as ‘Stiffen Stuff’ from the haberdashery shop)
Step-by-Step Instructions
1. Cut your fabric into a strip of 14cm x 50cm (if you want smaller ones make the strip less wide, if you want larger ones make it wider and longer, play around). Mix your paint (you can also use watercolours if you have them, they give a lovely effect), dilute with water and try on some scraps of your fabric until you have found the right shade.
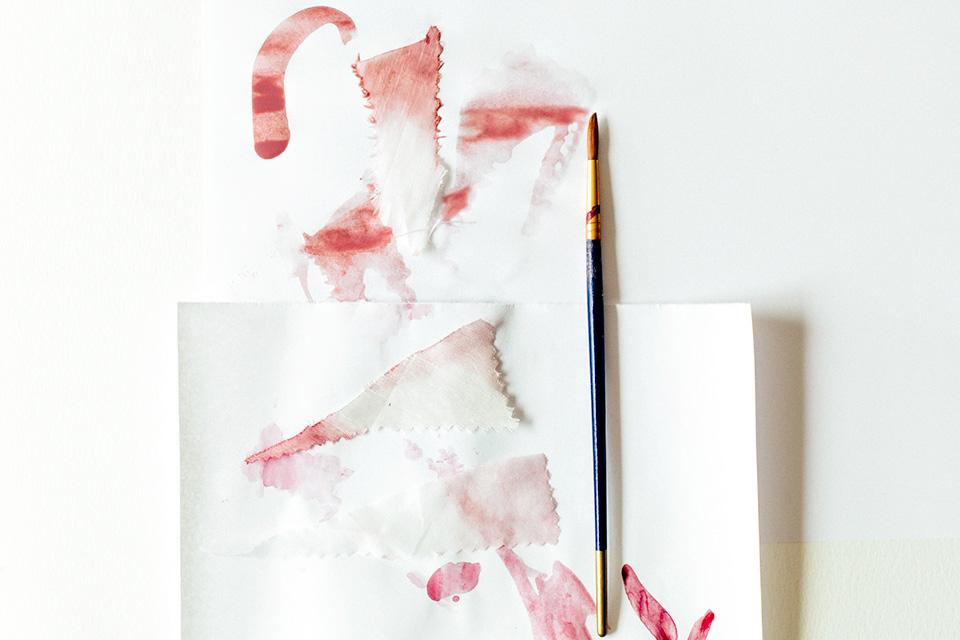
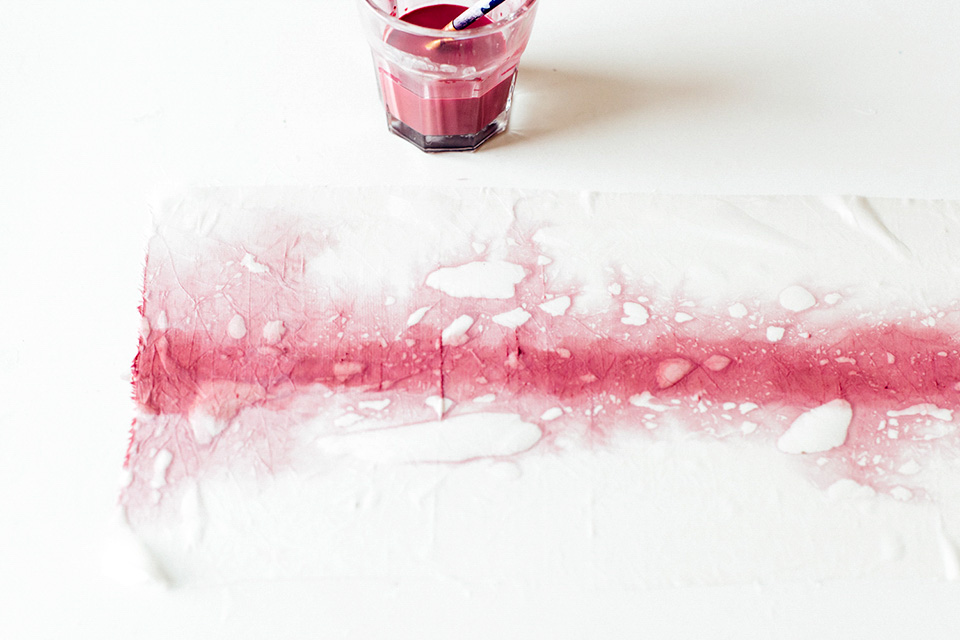
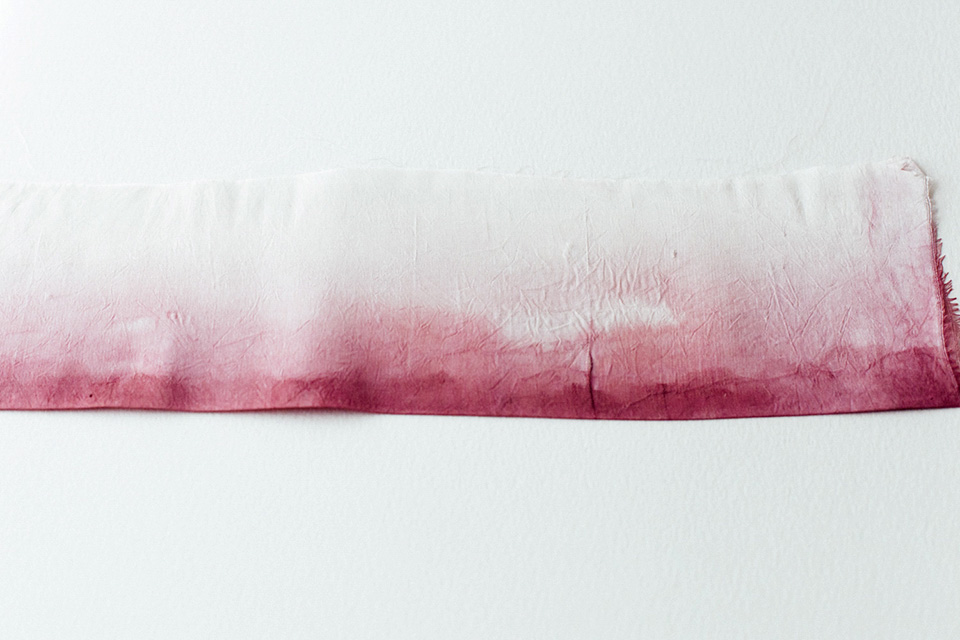
2. Dampen your fabric (If you have stiffened it wait for the stiffener to dry first) and for an ombre effect either apply paint along the middle (then the flower is darkest in the middle) or from the long ends of the fabric (then the flower is darkest at the tips of the petals). Hang to dry.
 3. When your fabric is dry, fold it in half along the long side and iron it flat.
4. Make a paper template according to the width of the folded strip – you could make rounder petals, thinner ones, it’s fun to try out different options. Fold the fabric like a concertina and place your template on top. Cut out. (if the fabric is slipping, you can staple it together outside of the template on what will just be scraps later).

5. Thread your needle and start stitching along the bottom edge with large stitches. When you get to the end start gathering your flower. Secure it at the bottom by curling the gathered edge together and sewing everything in place. Doesn’t have to be pretty. When you’re done separate the petals and open the flower and tweak it until you’re happy.
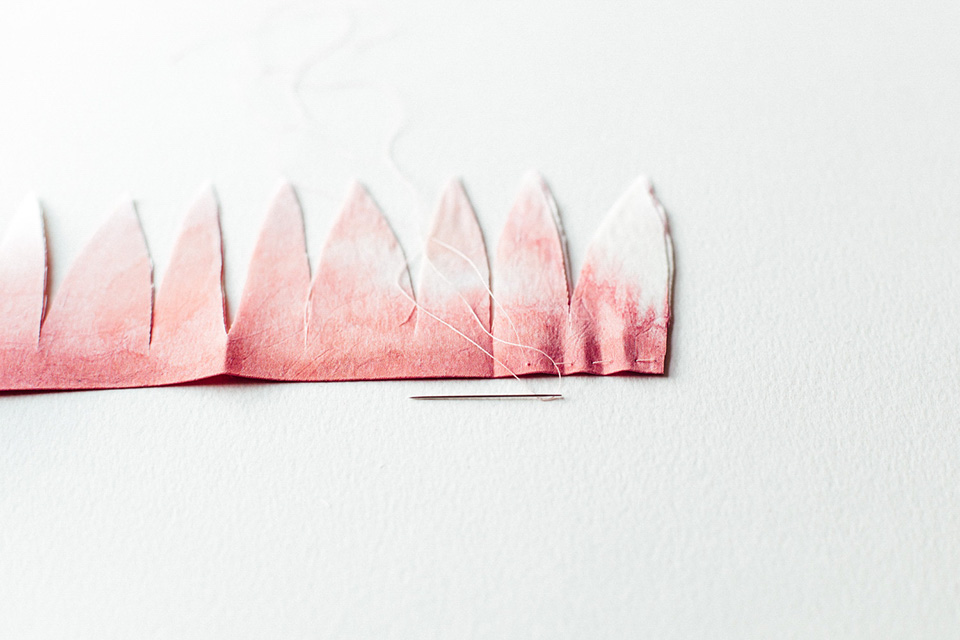
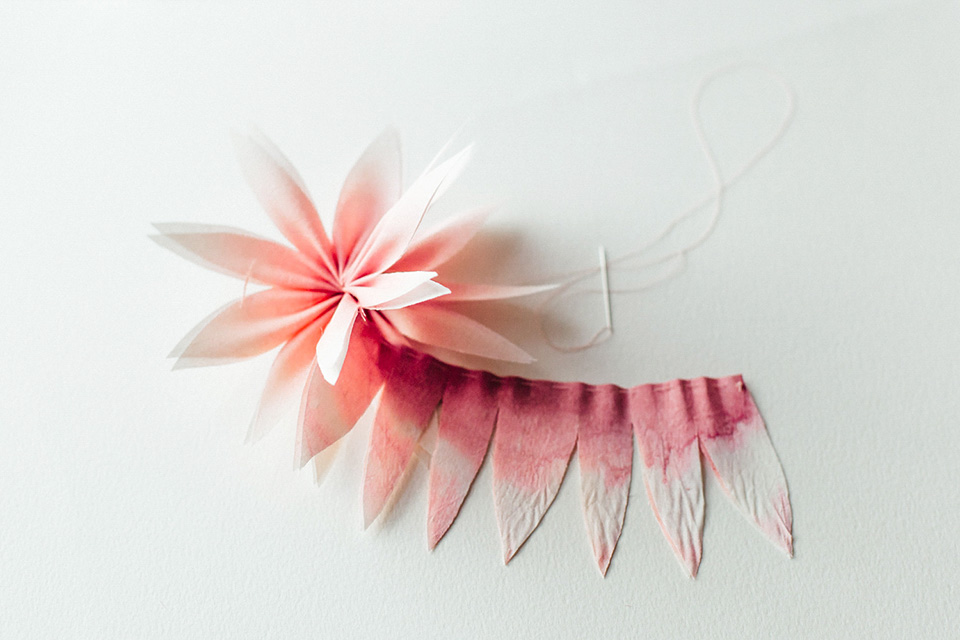
6. You can now attach a comb or hair clip, make more flowers and stitch them to a ribbon to make a headband, string them together to make a garland – or skip the ombre paint and make them in white!
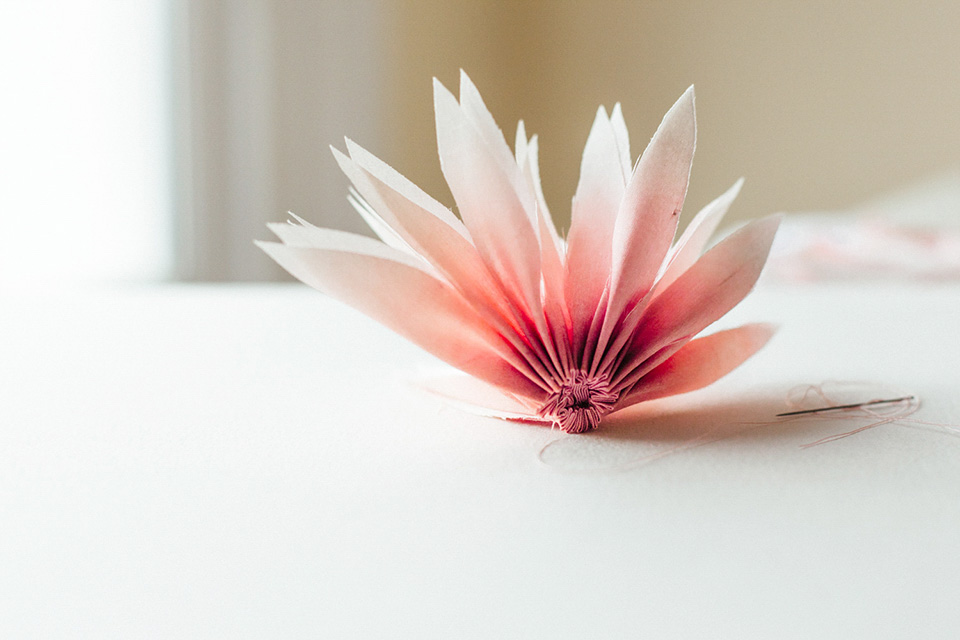
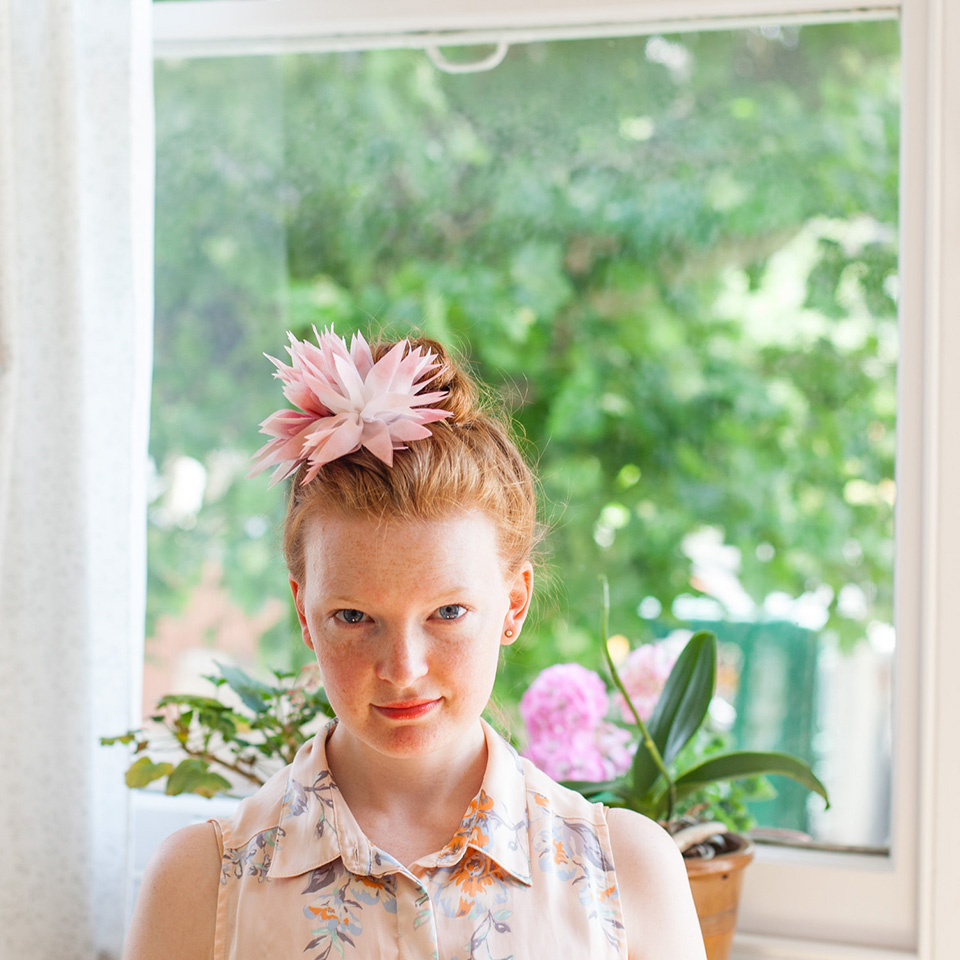
Enjoy!
Johanna x
. . . . . . . . . . . . . . . . . . . . . . . . . . . . . . . . . . . . . . . . . . . . . . . . . .
You can find out more about Johanna and her beautiful Blackbirds Pearl accessories by visiting blackbirdspearl.com. You will also find Johanna on Instagram, Twitter, Pinterest and Facebook. If you’ve got a question or would like to discuss a bespoke commission, do please contact Johanna via e-mail [email protected].

Lovely idea 🙂